
|
Do it yourself
| |||
| ||||


How to replace engine oil and engine oil filter on Mini Cooper
Model: Mini Mini
R52, R50, R53
- Years 2001-2007
In this video tutorial we can see how it is possible to replace the engine oil and engine oil filter on Mini Cooper. The first thing to do is to buy the oil filter and engine oil from an authorized dealer. Lift the bonnet and secure it with the special rod. Use a 76-14 F socket wrench to unscrew the filter coin housing cap along with the old filter element; prepare a container for the old oil filter. Remove the filter element to be replaced from the filter housing. To prevent dirt from entering you must cover the oil filter housing with a clean cloth. Lift the car with a hydraulic jack and put jack stands for our safety. Unscrew the oil tank cap and place a container for the used oil under the oil pan. With a socket wrench size 13 unscrew the oil drain plug and wait for all the oil to drain into the container. Remove the oil filter; Screw in the oil drain plug when all the oil has drained out. Lower the vehicle and place the new filter in its housing. Top up with new 4.8 liter engine oil (refer to the use and maintenance manual).
Posted on 3 July 2022 by ScegliAuto
Video tutorial
Related tutorials
Mini
(2007-2014 /
R56, R57, R55)
In this tutorial, we can see how to replace the engine oil filter in the Mini Cooper R56, an operation that requires changing the oil itself. First o…

Mini
(2007-2014 /
R56, R57, R55)
Below we will discover how to perform the regular maintenance service, replacing the engine oil and oil filter, on the Mini Cooper S. First, we lift …

Mini
(2007-2014 /
R56, R57, R55)
In this video we can see where the oil filter is located in the Mini Cooper, useful in case we need to replace the oil itself. As shown, the filter i…
Other guides you may be interested in
|
How to Replace the Rear Indicator Bulb on an Audi A3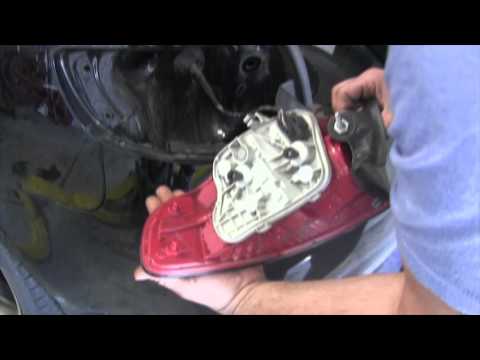
Position the car on a ramp or flat surface and immobilise it. Now, open the boot lid and, inside, corresponding to the rear light where you want to replace the indicator bulb, remove the small plastic cover using a screwdriver. Inside the hole, you will find a bolt (to be removed with a flat screwdriver); once this is undone, you can remove the entire rear light assembly. After this, proceed to remove the part inside the light assembly by unscrewing the 2 small bolts, as shown in the images. In the part you just removed, all the bulbs of the light are mounted. To replace them, simply remove them from their sockets and fit the new ones. To reassemble the entire unit, repeat all the steps shown in the images in reverse order. by ScegliAuto More videos
|
|
For advertising on this site Write to info@scegliauto.com
ScegliAuto is not responsible for any inaccuracy of the data in the lists. To report any inaccuracy or your business (if you own the business in question), please write to info@scegliauto.com
Number of seconds to generate the page: 0.093
(c) ScegliAuto 2026 - info@scegliauto.com - Privacy policy VAT number: IT01247470535 |