
|
Do it yourself
| |||
| ||||


Replacing the Auxiliary Belt on the Citroen C3
Model: Peugeot 206
MK 1
- Years:
1998, 1999, 2000, 2001, 2002, 2003, 2004, 2005, 2006, 2007, 2008, 2009
Video tutorial
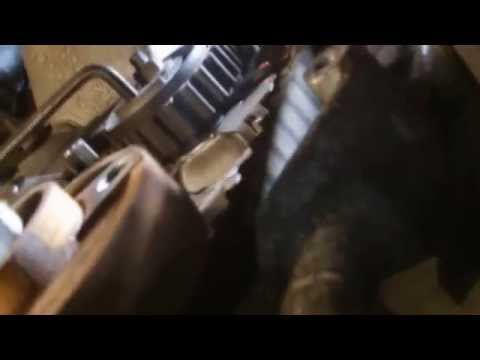
To replace the auxiliary belt, open the car's bonnet. Disconnect the battery by unscrewing the negative terminal. Lift the front of the car using two axle stands and a jack. Do not rely on your scissor jack. Unscrew the wheel nuts and then lift the vehicle. Remove the wheel and place it under the car. Remove the right front wheel arch liner to access the auxiliary belt. Unscrew the lower screw and remove the clips holding the liner. You will then see the auxiliary belt, which drives the alternator that charges the battery, but also operates the power steering, air conditioning compressor, and water pump. Lift the tensioner with a socket wrench and remove the belt. You must also change the tensioner, so unscrew the upper fixing bolt and the lower screw. Now you can place the new tensioner in its housing. Position the screw and bolt and tighten them. Tension the tensioner, take the new auxiliary belt and fit it, ensuring the correct routing, passing the belt between the various components and tensioning it to the required tension. You can refit the wheel arch liner, first the tabs, then the screw. Refit the wheel and lower the car. Job done.
Updated on 7 August 2026 by ScegliAuto
Related tutorials
Peugeot 206
(1998-2012 /
MK 1)
The auxiliary or service belt drives the alternator, air conditioning compressor, and power steering pump. To replace it, loosen the tensioner and re…

Peugeot 206
(1998-2012 /
MK 1)
First, lift the engine bonnet and secure it with the appropriate prop; next, put your car on a mobile ramp to raise it, or use a jack. At this point,…
Peugeot 206
(1998-2012 /
MK 1)
Remove the timing belt on the Peugeot 206 if it needs changing. Changing the timing belt is very important to avoid damaging the engine. Here’s how t…
Other guides you may be interested in
|
Frequently Asked QuestionsHow to reset the tyre pressure warning light on the Kia Niro EV?
To reset the tyre pressure warning light on the Kia Niro EV, inflate the tyres until they reach the correct pressure value. This value is indicated on the sticker attached to the driver's door pillar. Once the tyres are inflated, turn on the instrument cluster to check that the warning light has completely disappeared from the display. If it is still present, you may need to drive for a few miles to ensure it disappears completely from the screen. by ScegliAuto More videos
|
|
For advertising on this site Write to info@scegliauto.com
ScegliAuto is not responsible for any inaccuracy of the data in the lists. To report any inaccuracy or your business (if you own the business in question), please write to info@scegliauto.com
Number of seconds to generate the page: 0.056
(c) ScegliAuto 2026 - info@scegliauto.com - Privacy policy VAT number: IT01247470535 |
