
|
Do it yourself
| |||
| ||||


Disassembly and reassembly of the bumper on the Saab 900 DIY
Model: Saab 900
MK 2
- Years 1993-1998
The procedure involves the removal of the bumper from the Saab 900 with the vehicle secured and the ignition off. It starts by identifying the visible fastening points on the lower edge and along the wheel arches. Then, the accessible bolts from the outside are loosened, and if applicable, those located under the hood or behind the grille. Once the side fasteners are freed, the bumper is carefully supported to avoid stress on the plastics; before removing the component, the connectors for any connected devices (license plate lights, fog lights, or sensors, if present) are disconnected. With the wiring detached, the bumper is pulled off evenly along the vehicle's axis, ensuring that the clips and side brackets do not resist. For reassembly, the piece is repositioned in its housing, the guides are correctly engaged, and the edges are realigned. Then, the connectors are reconnected, and screws and bolts are replaced with uniform tightening, starting from the central points and moving to the sides. Finally, the junction line with the fenders and grille is checked, the connected lighting is verified, and a final visual inspection of the assembly stability is performed.
Posted on 2 December 2025 by ScegliAuto
Video tutorial
Related tutorials
Saab 900
(1993-1998 /
MK 2)
To replace the CV boot on the Saab 900, secure the car, lift the front end, and remove the wheel on the affected side. Loosen and unscrew the CV nut …
Saab 900
(1993-1998 /
MK 2)
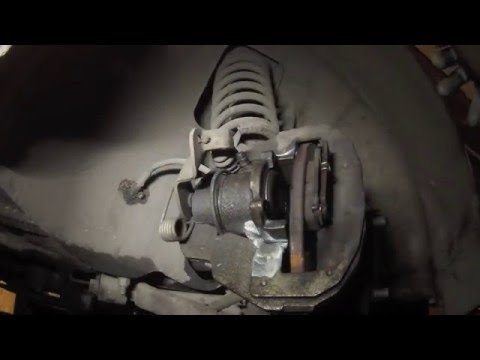
Replace the front brake pads on a Saab 900. Lift the car using a jack to the desired height, then remove the wheel with the respective bolts. Unscrew…
Saab 900
(1993-1998 /
MK 2)
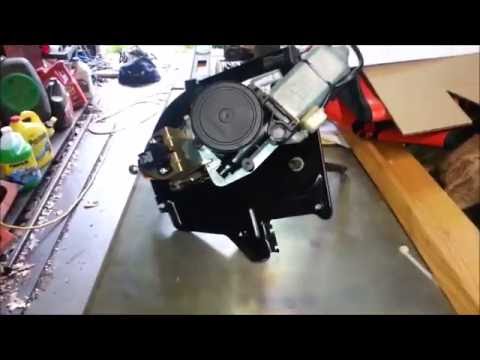
This guide outlines the main instructions for removing and replacing or repairing the hood motor of the Saab 900. First, open the rear hatch of the b…
Other guides you may be interested in
|
How to Adjust the Brightness of the Instrument Cluster on a Peugeot 3008?
To adjust the brightness of the instrument cluster on a Peugeot 3008, you need to turn on the ignition and access the settings via the menu located in the central area of the dashboard. In the screen that appears, select the "Display Configuration" option: now, by selecting the "Brightness" option, you can adjust it using the dedicated slider that will appear on the screen. The adjustment should be made with the headlights on as well as with them off. Once the adjustment is complete, you can turn off the instrument cluster. by ScegliAuto More videos
|
|
For advertising on this site Write to info@scegliauto.com
ScegliAuto is not responsible for any inaccuracy of the data in the lists. To report any inaccuracy or your business (if you own the business in question), please write to info@scegliauto.com
Number of seconds to generate the page: 0.478
(c) ScegliAuto 2026 - info@scegliauto.com - Privacy policy VAT number: IT01247470535 |
