
|
Do it yourself
| |||
| ||||


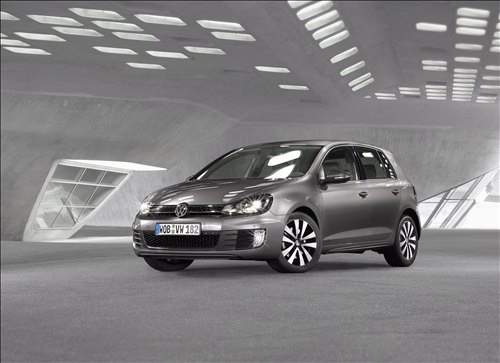
How to Remove the Car Radio from a Volkswagen Golf
Model: Volkswagen Golf
Golf 6, MK 6, 5K1, Golf VI
- Years:
2008, 2009, 2010, 2011, 2012
Video tutorial
To remove the car radio from a Volkswagen Golf 6, first switch off the instrument cluster and, if possible, disconnect the negative terminal of the battery. Start by removing the two plastic covers located at the top of the centre console, above the air vents, then unscrew the Torx screws located underneath. At this point, you can detach the assembly that includes the upper glove compartment and the air vents by disconnecting the connector for the hazard light button. Next, remove the trim surrounding the car radio and unscrew the four Torx screws that secure it to the dashboard. Finally, extract the unit, disconnect the main connector and the antenna cable, and complete the removal of the car radio.
Posted on 20 July 2026 by ScegliAuto
Related tutorials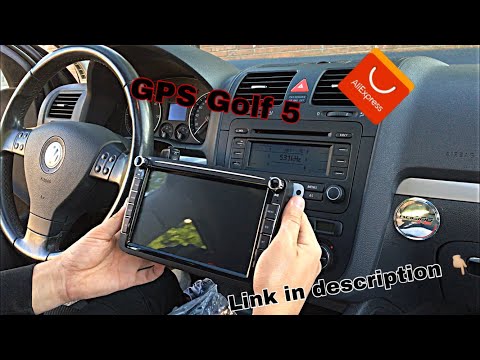
Volkswagen Golf
(2003-2008 /
Golf 5, MK 5, Golf V)
In this video tutorial, follow the steps to remove the original radio from a Volkswagen Golf Mk5, so it can be replaced with an Android radio. First,…
Volkswagen Golf
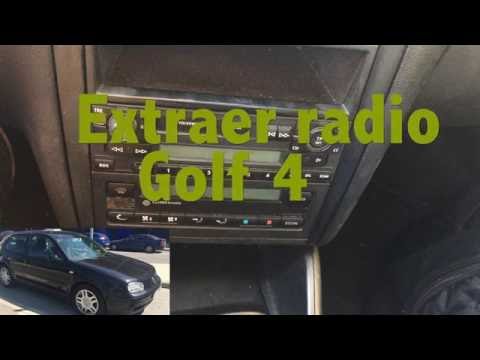
(1997-2003 /
Golf IV, Golf 4, MK 4)
Follow these simple and quick steps to remove and replace the standard radio from a Volkswagen Golf. First, get inside the vehicle; to extract the ra…
Volkswagen Golf
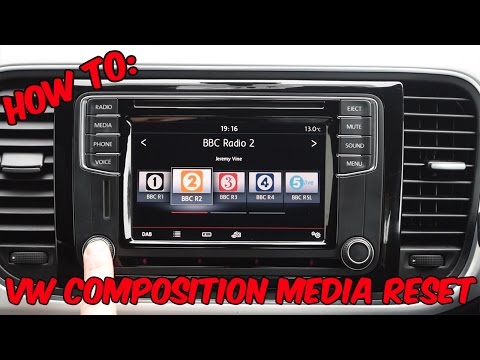
(2012-2019 /
MK 7, Golf 7, Golf VII)
To reset a "composition media" radio in a Volkswagen, this video is demonstrated on a Volkswagen Golf, but it can be found in other Volkswagen group …
Other guides you may be interested in
|
Where to Find and How to Remove the Spare Wheel of a Peugeot 5008?
The spare wheel of a Peugeot 5008 is located under the rear of the vehicle. To remove it, you need to lift the third row of seats to access the fixing bolt that holds the spare wheel in position. Using the correct spanner, proceed to unscrew the fixing bolt until the wheel is no longer secured. At this point, you can extract the spare wheel from underneath the vehicle. Once you have completed this step, you are free to fit the spare wheel. Ensure you correctly remount the spare wheel and securely tighten the fixing bolt when you are finished. by ScegliAuto More videos
|
|
For advertising on this site Write to info@scegliauto.com
ScegliAuto is not responsible for any inaccuracy of the data in the lists. To report any inaccuracy or your business (if you own the business in question), please write to info@scegliauto.com
Number of seconds to generate the page: 0.097
(c) ScegliAuto 2026 - info@scegliauto.com - Privacy policy VAT number: IT01247470535 |
