
|
Do it yourself
| |||
| ||||


Replacement of Brake Discs and Rear Brake Pads
Model: Volkswagen Passat
3BG, B5
- Years:
1996, 1997, 1998, 1999, 2000, 2001, 2002, 2003, 2004, 2005
Video tutorial
Lift the vehicle on suitable axle stands and remove the rear wheels. Unscrew only the lower fixing bolt of the brake caliper, rotate the caliper upwards to allow the pads to be extracted. At this point, give a few taps with a hammer on the old disc to free it from the hub and remove it. To install the new pads, retract the caliper piston using the appropriate tool (it is not necessary to compress the brake line or open the bleed valve). First, fit the inner pad, then the new brake disc, followed by the outer pad, and secure the caliper by tightening the respective fixing bolt. Refit the wheel: the wheel fixing bolts also secure the disc to the hub. Pump the brake pedal until it offers the correct resistance.
Updated on 5 February 2026 by ScegliAuto
Related tutorials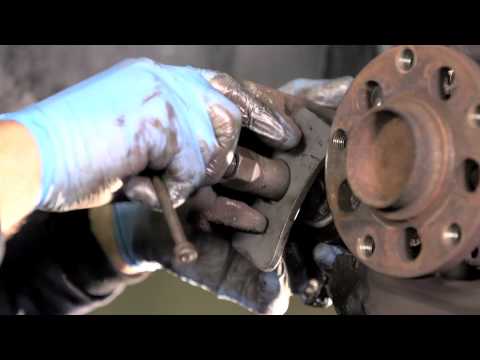
Volkswagen Passat
(1996-2005 /
3BG, B5)
Once the vehicle is lifted and secured on appropriate axle stands, remove the rear wheels, detach the brake caliper from its support, remove the worn…

Volkswagen Passat
(2010-2014 /
B7)
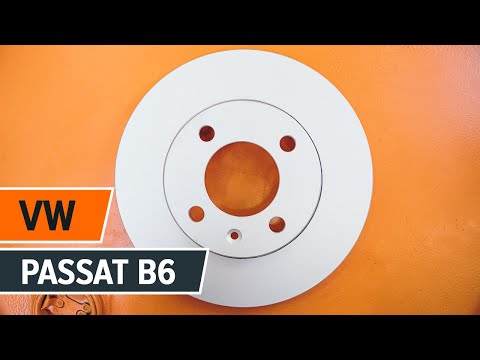
The following steps will guide you on how to remove and replace the rear brake pads on a Volkswagen Passat. First, lift the vehicle and start by remo…
Volkswagen Passat
(2005-2010 /
B6, 3C)
Are the rear brake pads worn? Here’s how to replace them inside the brake caliper. Lift the car on a jack, then remove the wheel (using a socket wren…
ScegliAuto offers an extensive international collection of automotive tutorials available in 12 languages. Each guide combines instructional videos with original explanations written by experienced human editors, along with information about the car models covered.
Other guides you may be interested in
|
How to Reset the Tyre Warning Light on the Hyundai I10
The tyre warning light on the instrument panel of your Hyundai I10 (third series) alerts you when there is a puncture or when the tyres are inflated to the wrong pressure. If it lights up accidentally, you can reset it manually by following these steps. Once the instrument panel is on, press the directional button located on the right side of the steering wheel and find the tyre pressure display screen. Finally, press and hold the "OK" button for a few seconds and select the "Set" option to complete the reset of the light. by ScegliAuto More videos
|
|
For advertising on this site Write to info@scegliauto.com
ScegliAuto is not responsible for any inaccuracy of the data in the lists. To report any inaccuracy or your business (if you own the business in question), please write to info@scegliauto.com
Number of seconds to generate the page: 0.036
(c) ScegliAuto 2026 - info@scegliauto.com - Privacy policy - About us VAT number: IT01247470535 |
