
|
Do it yourself
| |||
| ||||



How to replace the battery of the Volvo XC60 MK1
Model: Volvo Xc60
MK 1
- Years:
2008, 2009, 2010, 2011, 2012, 2013, 2014, 2015, 2016
Video tutorial
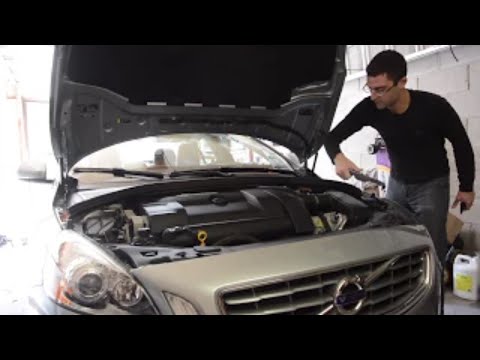
In this video we can see how to replace the battery of the Volvo XC60 MK1: we open the front hood and locate the battery, which is located on the right side of the engine compartment, looking at the car from the front, protected by a plastic cover, which we will remove by pressing the clips on the front side of the cover. We will need to partially remove the rubber gasket located on the protective grille, in order to remove the section of the cover that covers the battery. We disconnect the wiring plug from the negative cable and remove the vent tube from the battery, then remove the negative clamp by moving it away from the pole to avoid accidental connection. We also disconnect the positive terminal. We unscrew the battery security bolts and lift it from the tray, being careful because it is quite heavy. We place the new battery and tighten the security bolt. We connect the positive terminal, then the negative one, then the vent tube and finally the electrical connector. Operation completed.
Posted on 1 April 2025 by ScegliAuto
Related tutorials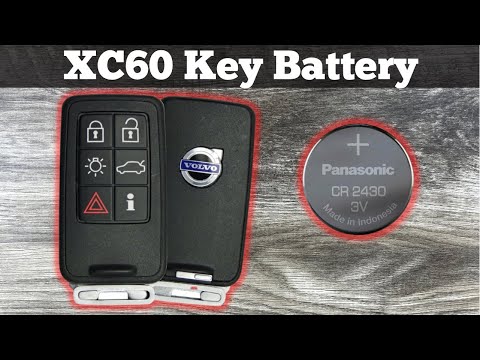
Volvo Xc60
(2008-2016 /
MK 1)
To correctly and safely replace the battery inside the smart key of your Volvo XC60 MK1, you only need a common flathead screwdriver and a couple of …
Volvo Xc60
(2008-2016 /
MK 1)
With the following guide, you will finally be able to replace the battery in your Volvo XC60 independently and safely. First, turn off the car and ma…

Volvo Xc60
(2008-2016 /
MK 1)
In this tutorial, you can see how to replace the remote battery for the Volvo XC60, a very simple and quick operation. For this, you will need a smal…
Other guides you may be interested in
|
How to Reset the Tire Pressure Light on a MG ZS?
On the instrument cluster of the MG ZS, the tire pressure light that appears can be reset by inflating the tires to the correct pressure: this value will be indicated on the sticker attached to the driver's door pillar. Once the tires have been properly inflated, you can turn on the instrument cluster and navigate through the menu until you find the option that indicates tire pressure: if this screen shows the new values, the light will turn off; otherwise, you will need to drive for a few miles so that the sensors can read the new values and turn off the light afterward. by ScegliAuto More videos
|
|
For advertising on this site Write to info@scegliauto.com
ScegliAuto is not responsible for any inaccuracy of the data in the lists. To report any inaccuracy or your business (if you own the business in question), please write to info@scegliauto.com
Number of seconds to generate the page: 0.061
(c) ScegliAuto 2026 - info@scegliauto.com - Privacy policy VAT number: IT01247470535 |
