
|
Do it yourself
| |||
| ||||


|
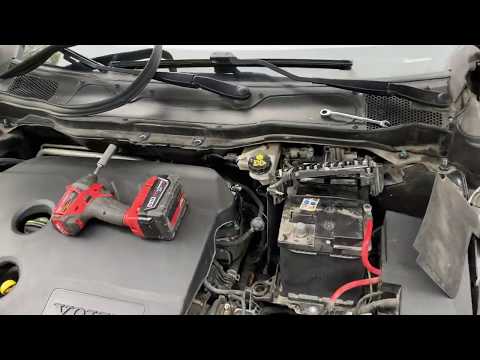
In this video tutorial, you will see how to change the battery in a Volvo V40 by following a few simple steps: get in the vehicle, turn off the engine, and pull the handbrake; lift the bonnet and secure it with the prop rod. Using an 8 mm spanner, unscrew the bolts securing the plate at the front of the engine compartment. Once the plate is removed, take out the air filter box, remove the securing clips, and unscrew the screws, disconnect the sensor; remove the air filter box cover; cover the intake pipe to prevent dirt from entering the system; remove the air filter. Take the filter box out of its slot. Using a 10 mm spanner, unscrew the negative battery terminal and then the positive terminal, loosening the nuts with a 13 mm spanner, being careful not to drop the nuts inside the engine compartment. Remove the top cap with a screwdriver and unscrew the nut with a 13 mm spanner. Unscrew the battery cover screws using a Torx T30 spanner. Unscrew the bracket bolt holding the battery with an 8 mm spanner. Remove the battery and replace it with a new one.
Updated on 10 July 2026 by ScegliAuto
Video tutorial
Related tutorials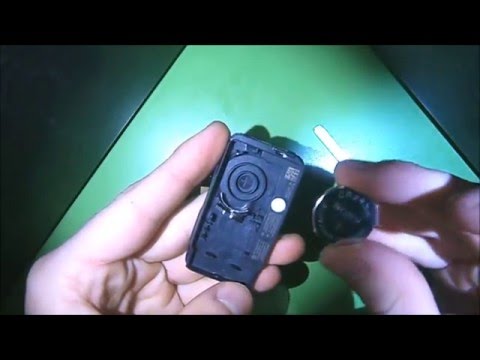
Volvo V40
(2012-2019 /
MK 2)
Replacing the remote battery on a Volvo V40 is a very simple and quick operation; let's see how to proceed in the attached video tutorial. You will n…
Volvo V40
(2012-2019 /
MK 2)
In this guide, you will find the necessary instructions on how to remove and replace the battery in the Volvo V40, following these simple steps. Firs…

Volvo V40
(2012-2019 /
MK 2)
This guide shows how to replace the remote battery on a Volvo V40 Mk2. The first step is to slide out the physical key using the release lever on the…
Other guides you may be interested in
|
How to Check the Oil Level on a Jeep Renegade?
To check the oil level on a Jeep Renegade, you need to open the bonnet to access the components inside the engine bay: on the lower left side of the engine block, you will find the dipstick for checking the level. This should be pulled out and thoroughly cleaned with a cloth: once cleaned, reinsert it back into its tube and pull it out immediately after. This way, you can check that the oil mark is between the minimum and maximum levels; finally, you can place the dipstick back in its tube. by ScegliAuto More videos
|

|
For advertising on this site Write to info@scegliauto.com
ScegliAuto is not responsible for any inaccuracy of the data in the lists. To report any inaccuracy or your business (if you own the business in question), please write to info@scegliauto.com
Number of seconds to generate the page: 0.224
(c) ScegliAuto 2026 - info@scegliauto.com - Privacy policy VAT number: IT01247470535 |
