
|
Do it yourself
| |||
| ||||


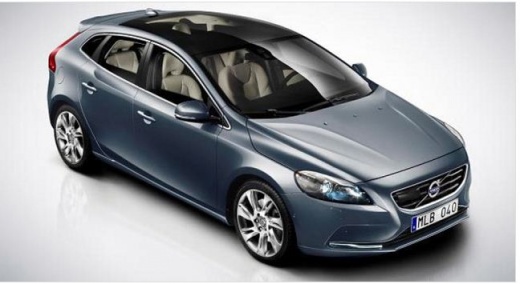
Consequences of the EGR Valve Warning Light on the Volvo V40
Model: Volvo V40
MK 2
- Years:
2012, 2013, 2014, 2015, 2016, 2017, 2018, 2019
Video tutorial
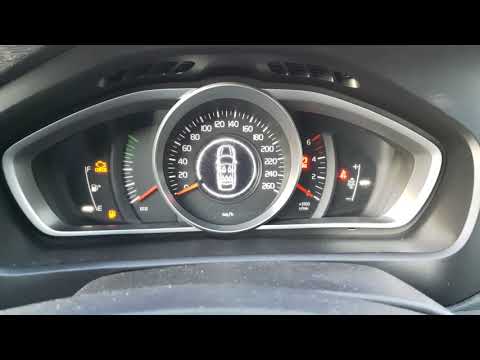
This video shows how the problem with this Volvo V40 was resolved, where the EGR valve ducts were cleaned; it had the diagnostic warning light on due to a malfunctioning EGR valve, but in reality, there was no issue with the valve itself; the problem was a completely clogged heat exchanger, which meant the valve was not receiving the air it needed to function, and the sensor calculated that there was insufficient oxygen. Consequently, the engine warning light comes on. However, we also need to clean the intake manifold of the valves, which are already full of sludge, as well as the throttle valve. This is all a consequence of the clogged heat exchanger.
Updated on 17 September 2026 by ScegliAuto
Related tutorials
Volvo V40
(2012-2019 /
MK 2)
To replace the EGR valve on a Volvo V40, open the bonnet to access the components inside the engine bay. The valve is located at the front of the eng…
Volvo V40
(2012-2019 /
MK 2)
To reset the Service light on the Volvo V40, turn on the instrument cluster by turning the key in the lock and then press and hold the OK button loca…

Volvo V40
(2012-2019 /
MK 2)
Hello, today discover how to reset the "Service" light on your Volvo V40. Start by sitting in the driver's seat of the car. Then, turn the key in the…
Other guides you may be interested in
|
How to Remove the Rear Seat of a Hyundai Tucson?
To remove the rear seat of a Hyundai Tucson, follow these steps. Start by moving the front seats to their most forward position to gain space. Next, locate the release lever on the underside of the rear seat, near the floor. Press this lever down while pulling the seat upwards to unlock it from the anchor pins. Once unlocked, tilt the seat upwards and forwards to remove it from its position. Repeat this process for both sides of the rear seat. Be careful of any electrical cables or components that may be connected to the seat during removal. Once the rear seat is removed, the disassembly is complete. by ScegliAuto More videos
|
|
For advertising on this site Write to info@scegliauto.com
ScegliAuto is not responsible for any inaccuracy of the data in the lists. To report any inaccuracy or your business (if you own the business in question), please write to info@scegliauto.com
Number of seconds to generate the page: 0.021
(c) ScegliAuto 2026 - info@scegliauto.com - Privacy policy VAT number: IT01247470535 |
