
|
Do it yourself
| |||
| ||||


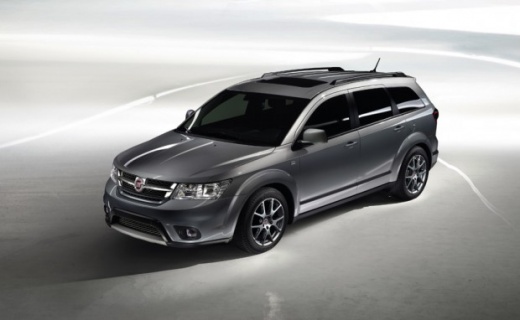
Dashboard Errors Caused by a Flat Battery in the Fiat Freemont
Model: Fiat Freemont
MK 1
- Years:
2011, 2012, 2013, 2014, 2015, 2016
Video tutorial
When the battery of the Fiat Freemont is flat, the onboard computer may exhibit unusual and absolutely strange behaviours. These can include incorrect warnings such as the absence of the key (when it is confirmed to be present); or the maintenance message for the bonnet (which is a safety device present in the bonnet of the car in case of an accident). Other strange behaviours due to the malfunctioning of the onboard computer may include the wipers activating unexpectedly, repeated headlight activation, failure to turn on the radio and windows, etc. The important question is why the battery discharges. Among various reasons, it could be due to the failure to switch off the bulb located inside the glove compartment. Therefore, try to resolve this issue.
Updated on 19 March 2026 by ScegliAuto
Related tutorials
Fiat Freemont
(2011-2016 /
MK 1)
Fiat has announced that most owners of the Freemont who have the letter B on the chassis have already realised that the battery discharges quickly du…

Fiat Freemont
(2011-2016 /
MK 1)
In this short video tutorial, you will see how to replace the flat battery in the remote of a Fiat Freemont. The operation is very simple and can be …

Fiat Freemont
(2011-2016 /
MK 1)
Updating Uconnect on a Fiat Freemont is a fairly simple and quick operation to perform independently. Start by visiting the Fiat website to download …
Other guides you may be interested in
|
Frequently Asked QuestionsHow to Remove the Rear Seat of a Hyundai Tucson?
To remove the rear seat of a Hyundai Tucson, follow these steps. Start by moving the front seats to their most forward position to gain space. Next, locate the release lever on the underside of the rear seat, near the floor. Press this lever down while pulling the seat upwards to unlock it from the anchor pins. Once unlocked, tilt the seat upwards and forwards to remove it from its position. Repeat this process for both sides of the rear seat. Be careful of any electrical cables or components that may be connected to the seat during removal. Once the rear seat is removed, the disassembly is complete. by ScegliAuto More videos
|
|
For advertising on this site Write to info@scegliauto.com
ScegliAuto is not responsible for any inaccuracy of the data in the lists. To report any inaccuracy or your business (if you own the business in question), please write to info@scegliauto.com
Number of seconds to generate the page: 0.157
(c) ScegliAuto 2026 - info@scegliauto.com - Privacy policy VAT number: IT01247470535 |
