Do it yourself
Frequently asked questions about cars and motorcycles

How to Find the Fuse Diagrams for a Ford Figo Aspire

Model: Ford Figo Aspire MK 2 - Years 2015-2021

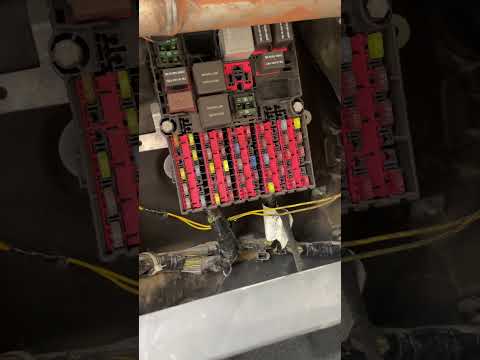
The first fuse panel in a Ford Figo Aspire can be found inside the vehicle's cabin, located directly behind the glove compartment in front of the passenger seat. This first panel contains fuses assigned to: audio unit, power windows, climate control module, instrument cluster, display interface, USB ports, temperature sensor, parking assist, airbag control module, windshield washer pump, radio, data link connection module, ignition switch, door locks, etc. The second fuse box is located in the engine compartment and contains fuses assigned to: cigarette lighter, air conditioning compressor, ignition coil, anti-lock braking system, high beams, low beams, fog lights, fuel pump, injectors, horn, windshield wipers, coolant system, etc.

Updated on 16 June 2026 by ScegliAuto

This video is currently unavailable

Related tutorials

Ford Figo Aspire (2015-2021 / MK 2) If we are trying to solve a malfunction of one of the components of the electrical system of the Ford Figo Aspire, it will be useful to know the loca…
Ford Figo Aspire (2015-2021 / MK 2) The fuse assignment diagram located inside the passenger compartment of a Ford Figo Aspire includes: radio unit, power window switches, climate contr…
Ford Figo Aspire (2015-2021 / MK 2) If you need to work on the electrical components of the Ford Figo, it is important to know the location of the fuse box to proceed with the necessary…

Other guides you may be interested in

How to Remove the Front Bumper of the Citroën C4 Picasso?

To remove the front bumper of the Citroën C4 Picasso, you need to take out all the rivets and screws that secure the piece to its housing: these screws are located inside the wheel arches of the front wheels and at the central upper part of the bumper itself. Once all these fastening elements have been removed, you can detach the bumper from its seat by disconnecting the connectors inside and then insert the new replacement part. The new part can then be secured and connected properly, ensuring it is correctly fixed in place.

Watch the video!


by ScegliAuto

More videos