
|
Do it yourself
| |||
| ||||


How to Remove the Front Fender of the Ford F150 Mk13
Model: Ford F-150
MK 13
- Years 2015-2020
This guide shows how to remove the front bumper of the Ford F150 Mk13. After securing the vehicle, disconnect the negative battery terminal. Remove the nine plastic pins that hold the radiator protection plastic in place; once the protection is removed, disconnect the electrical cable and its fastening block. Remove the two plastic clips on the headlights and, from the wheel wells on both sides, remove the two 7 mm bolts per side. Remove the two headlight finishing panels to expose the bolts securing the front grille. Remove the two 8 mm bolts under the headlights and the four 10 mm bolts along with the four plastic clips on the top of the grille. Remove the radiator protection panel clips, cable fastening clips, and the fog light electrical connectors. Remove the 5 bolts that are 13 mm, three on the inside of the bumper and two on the outside; remove the 21 mm bolt at the bottom of the horn housing. With the help of someone, remove the bumper. Disassemble the bumper mounting bracket by unscrewing the two 21 mm bolts.
Updated on 15 July 2026 by ScegliAuto
Video tutorial
Related tutorials
Ford F-150
(2015-2020 /
MK 13)
This guide shows how to replace the seat belt tensioner for the passenger seat of the Ford F150 MK13. The first step is to lift the protective plasti…
Ford F-150
(2015-2020 /
MK 13)
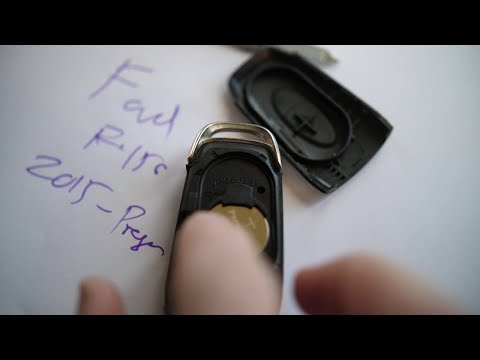
In this tutorial, you will learn how to replace the dead battery in the remote key fob for a Ford F150. Take your key fob and open it. You will see a…

Ford F-150
(2015-2020 /
MK 13)
In this video tutorial, see how to replace the battery in the Ford F150 remote by following a few simple steps: first, purchase a CR2032 3 Volt batte…
Other guides you may be interested in
|
How to Check the Oil Level on a Jeep Renegade?
To check the oil level on a Jeep Renegade, you need to open the bonnet to access the components inside the engine bay: on the lower left side of the engine block, you will find the dipstick for checking the level. This should be pulled out and thoroughly cleaned with a cloth: once cleaned, reinsert it back into its tube and pull it out immediately after. This way, you can check that the oil mark is between the minimum and maximum levels; finally, you can place the dipstick back in its tube. by ScegliAuto More videos
|

|
For advertising on this site Write to info@scegliauto.com
ScegliAuto is not responsible for any inaccuracy of the data in the lists. To report any inaccuracy or your business (if you own the business in question), please write to info@scegliauto.com
Number of seconds to generate the page: 0.509
(c) ScegliAuto 2026 - info@scegliauto.com - Privacy policy VAT number: IT01247470535 |
