
|
Do it yourself
| |||
| ||||


How to perform the service reset on the Range Rover Evoque.
Model: Land Rover Evoque
L551, MK 2
- Years 2018-2026
To reset the Service warning on the Range Rover Evoque, park on a flat surface, engage the parking brake, and turn on the ignition without starting the engine (on many versions, you just need to press Start/Stop without pressing the brake). From the steering wheel, enter the instrument cluster menu dedicated to vehicle information/maintenance and navigate to the screen related to the service interval (service interval / maintenance / oil). At this point, select the reset option and hold down the confirmation button (usually OK/Enter) until the reset confirmation appears; if prompted, confirm the operation. Once finished, turn off the ignition, wait a few seconds, and turn it back on to check that the maintenance light or message no longer appears. If there are two separate entries in the menu (for example, oil and inspection), repeat the procedure for the other entry as well. The reset should only be performed after the service: if the vehicle does not allow the reset from the menu or if the message remains active, diagnostic intervention may be necessary.
Posted on 1 January 2026 by ScegliAuto
Video tutorial
Related tutorials
Land Rover Evoque
(2011-2018 /
L538, MK 1)
In this new mini guide, we will help you complete the procedure that allows you to manually reset the service light on the instrument panel of your f…
Land Rover Evoque
(2018-2026 /
L551, MK 2)
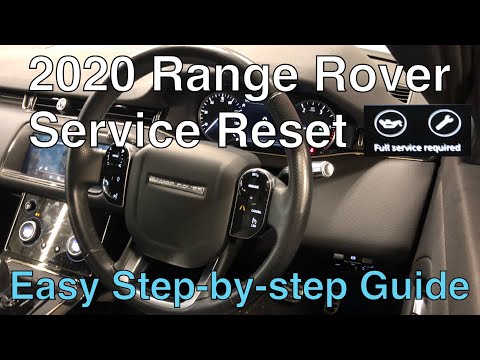
The procedure to correctly reset the service light on your 2020 Range Rover Evoque is very simple. Just follow these steps to do it without any diffi…

Land Rover Evoque
(2011-2018 /
L538, MK 1)
In this video we see the oil change of the Land Rover Range Rover Evoque engine being carried out; we need to reset the system that warns us, with a …
Other guides you may be interested in
|
How to Remove the Front Bumper of the Citroën C4 Picasso?
To remove the front bumper of the Citroën C4 Picasso, you need to take out all the rivets and screws that secure the piece to its housing: these screws are located inside the wheel arches of the front wheels and at the central upper part of the bumper itself. Once all these fastening elements have been removed, you can detach the bumper from its seat by disconnecting the connectors inside and then insert the new replacement part. The new part can then be secured and connected properly, ensuring it is correctly fixed in place. by ScegliAuto More videos
|
|
For advertising on this site Write to info@scegliauto.com
ScegliAuto is not responsible for any inaccuracy of the data in the lists. To report any inaccuracy or your business (if you own the business in question), please write to info@scegliauto.com
Number of seconds to generate the page: 0.012
(c) ScegliAuto 2026 - info@scegliauto.com - Privacy policy VAT number: IT01247470535 |
