
|
Do it yourself
| |||
| ||||


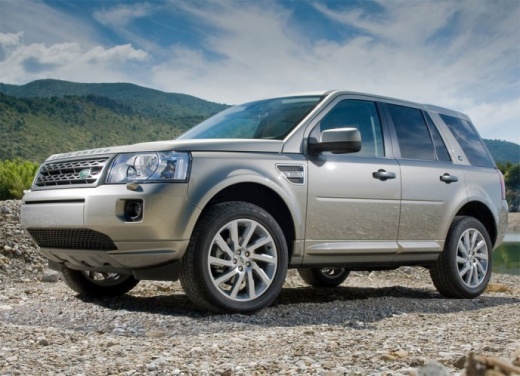
Replace Clutch Pistons on a Land Rover Freelander
Model: Land Rover Freelander
Freelander 2
- Years:
2006, 2007, 2008, 2009, 2010, 2011, 2012, 2013, 2014, 2015, 2016
Video tutorial
First, you need to remove the battery pack and the entire air filter housing to access the component to be replaced. Unscrew the pin that hinges the pump under the clutch pedal, and after removing all the clips that support the high-pressure oil line, remove the pump from inside the engine bay by slightly rotating it clockwise. After untangling the pipe from the other cables, proceed to remove the actuator piston. This is held in place by a simple clip, which, when removed, will allow you to take out the entire system. Now, simply reposition the new component and fill the oil circuit while bleeding it of air.
Updated on 18 March 2026 by ScegliAuto
Related tutorials
Land Rover Freelander
(2006-2016 /
Freelander 2)
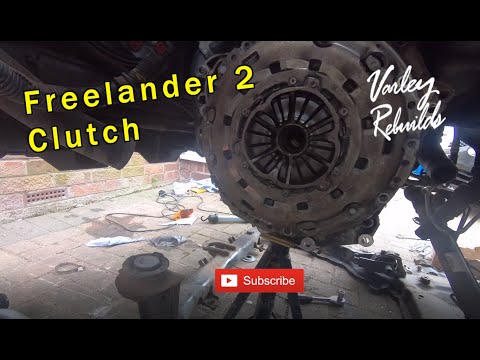
The clutch of the Land Rover Freelander can be replaced by loosening the screws that fix the gearbox to its housing, in the lower part of the engine …
Land Rover Freelander
(2006-2016 /
Freelander 2)
To replace the clutch pump on the Land Rover Freelander, lift the vehicle so that the front right wheel is off the ground. This allows you to remove …
Land Rover Freelander
(2006-2016 /
Freelander 2)
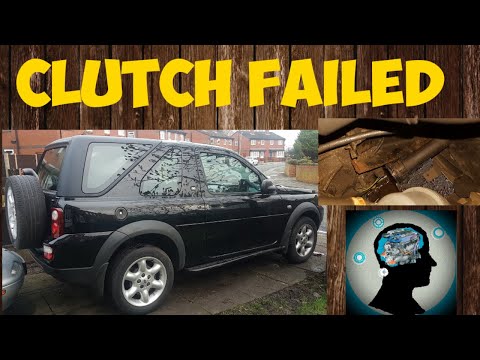
To replace the clutch cylinder on a Land Rover Freelander, remove the panel located behind the pedal assembly on the driver's side. Once the panel is…
Other guides you may be interested in
|
How to Remove the Rear Seat of a Hyundai Tucson?
To remove the rear seat of a Hyundai Tucson, follow these steps. Start by moving the front seats to their most forward position to gain space. Next, locate the release lever on the underside of the rear seat, near the floor. Press this lever down while pulling the seat upwards to unlock it from the anchor pins. Once unlocked, tilt the seat upwards and forwards to remove it from its position. Repeat this process for both sides of the rear seat. Be careful of any electrical cables or components that may be connected to the seat during removal. Once the rear seat is removed, the disassembly is complete. by ScegliAuto More videos
|
|
For advertising on this site Write to info@scegliauto.com
ScegliAuto is not responsible for any inaccuracy of the data in the lists. To report any inaccuracy or your business (if you own the business in question), please write to info@scegliauto.com
Number of seconds to generate the page: 0.119
(c) ScegliAuto 2026 - info@scegliauto.com - Privacy policy VAT number: IT01247470535 |
