
|
Do it yourself
| |||
| ||||


How to Dismantle the Air Conditioning Compressor on a Subaru Legacy
Model: Subaru Legacy
MK 4, BP, BL
- Years 2003-2009
In this video, we will explain how to dismantle the air conditioning system of a Subaru Legacy. Open the bonnet and secure it. Then, detach the plastic rivets and remove the air intake as shown in the video. Using a suitable socket wrench, remove the plates that secure the radiator at the top. Lift the vehicle on a column lift and remove the lower water hose as illustrated. Dismantle the horizontal coil of the radiator using pliers, then use a spanner to unscrew the large hose from the top of the vehicle. Once free from screws and hoses, you can extract the fan kit from the engine bay. At this point, unscrew the pins at the base of the engine bay to free the radiator, then dismantle and remove it. Unscrew the air conditioning compressor along with the belt, compare it with the new one, and check the correct operation as shown in the video. Prepare to install the new part in the engine bay, connect the belts, terminals, and tighten securely with a socket wrench. Install the new radiator onto the metal bar with all the pins and various hoses, and connect the fan kit with its hoses. Refit all the protections on the compressor and alternator that were removed earlier, including the plastics and front grille. Finally, bleed the air from the refrigeration system.
Updated on 25 February 2026 by ScegliAuto
Video tutorial
Related tutorials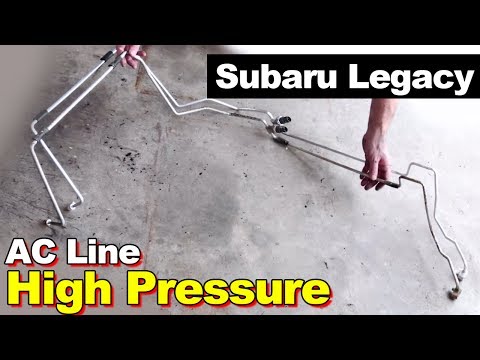
Subaru Legacy
(2003-2009 /
MK 4, BP, BL)
To remove and replace the air conditioning circuit on the Subaru Legacy, proceed as follows: 1) Open the bonnet. 2) Remove the bumper grille. 3) Remo…
Subaru Legacy
(2009-2014 /
BM, MK 5, BR)
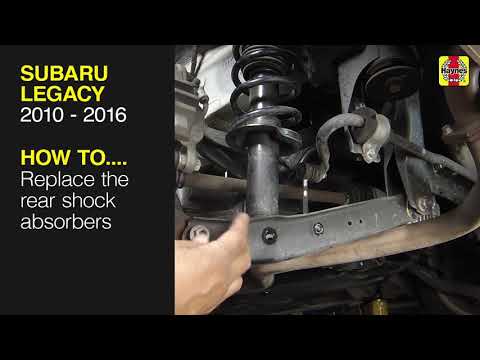
Before you start, lift the rear end of your Subaru Legacy. Begin by removing the rear wheel by unscrewing the relevant fixing bolts. Next, using a ja…
Subaru Legacy
(2009-2014 /
BM, MK 5, BR)
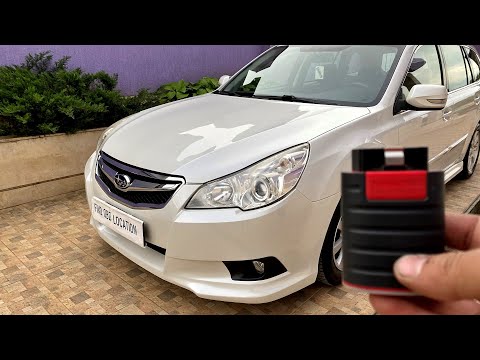
If you do not know where the OBD port of your 2011 Subaru Legacy is located, do not worry because this guide will help you find it without any diffic…
Other guides you may be interested in
|
Where is the Fuel Filter Located in a Volvo XC60?
In this video, you will see where the fuel filter is located in a Volvo XC60 and how to proceed if you need to replace it. As shown, the filter is positioned at the lower part of the engine, right between the left half-shaft and the sway bar attachment. To replace the filter, first, go underneath the vehicle, taking all necessary safety precautions. Then, using an 18mm wrench, open the drain valve and allow any water present to escape. Next, unscrew the housing, remove the old filter, insert the replacement along with a new gasket, and reassemble everything. by ScegliAuto More videos
|
|
For advertising on this site Write to info@scegliauto.com
ScegliAuto is not responsible for any inaccuracy of the data in the lists. To report any inaccuracy or your business (if you own the business in question), please write to info@scegliauto.com
Number of seconds to generate the page: 0.240
(c) ScegliAuto 2026 - info@scegliauto.com - Privacy policy VAT number: IT01247470535 |
