Do it yourself
Frequently asked questions about cars and motorcycles
  1. Car
  2. :
  3. Volkswagen
  4. :
  5. Golf
  6. : Alternator

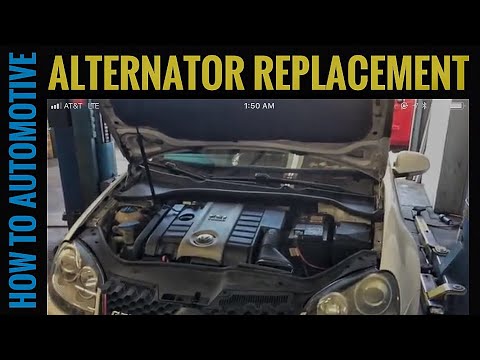
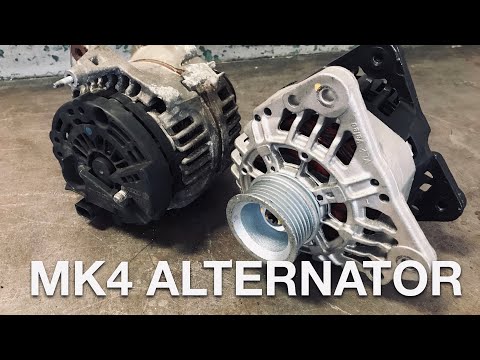
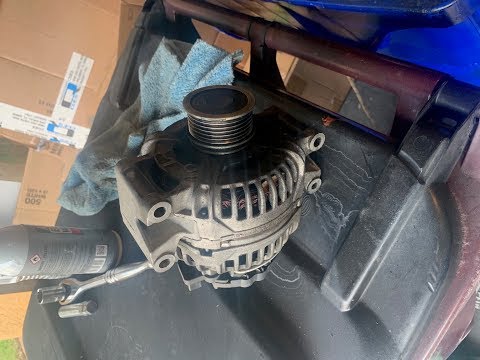
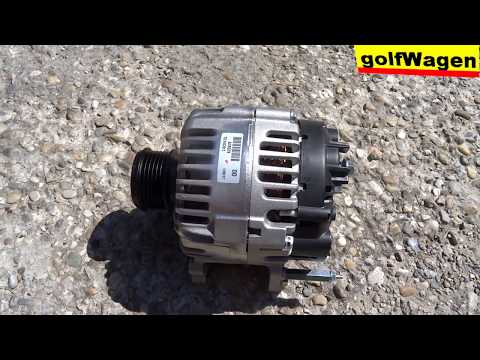
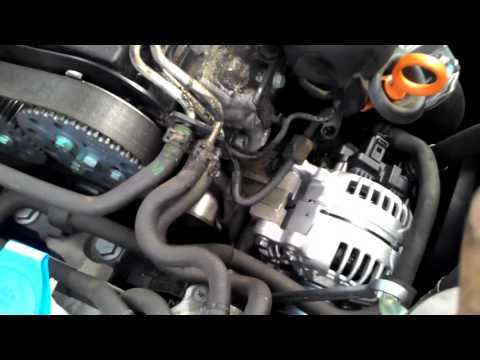
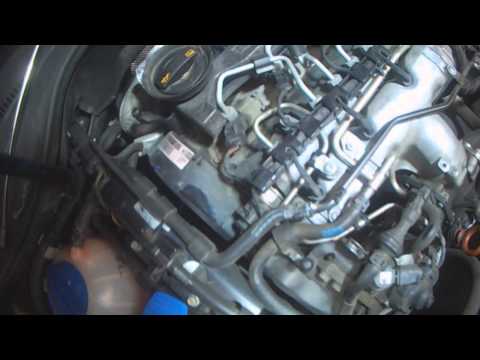
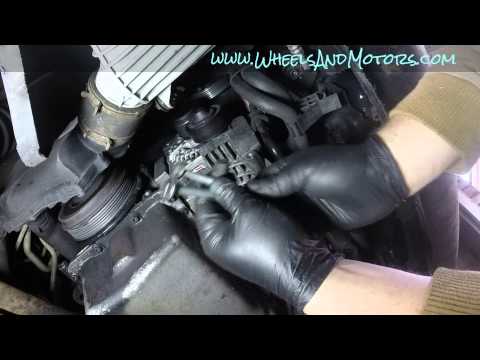
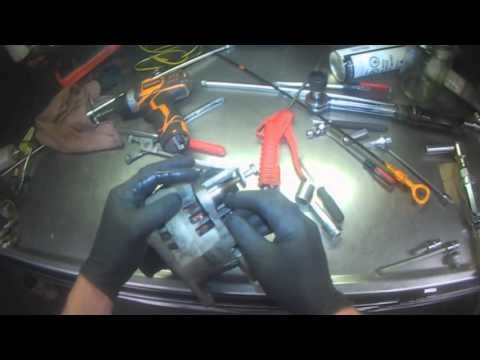
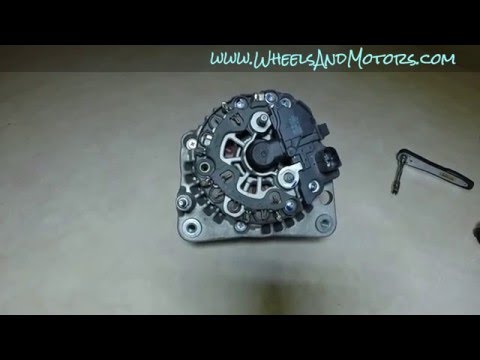
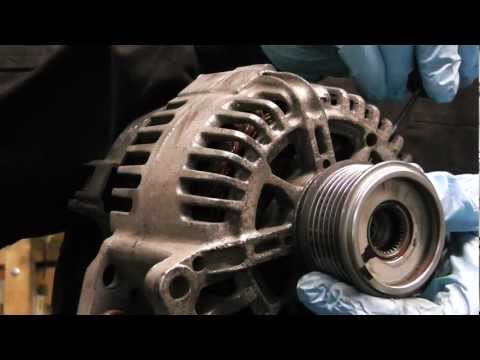
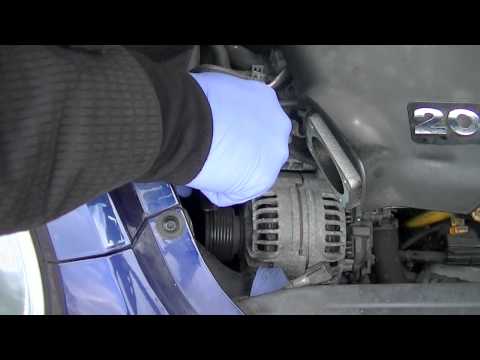
Volkswagen Golf - Alternator

Volkswagen Golf (2003-2008 / Golf5, MK 5, Golfv)
How to replace the alternator of the Volkswagen Golf GTI

Let's see today the steps on how to replace the alternator of the Volkswagen Golf GTI, with TSI engine, following the instructions below. First we open the …read all…
Posted on 4 November 2022 by ScegliAuto
Volkswagen Golf (1997-2003 / Golfiv, MK 4, Golf4)
Volkswagen Golf 4 alternator replacement

Let's see in this video how to remove and replace the alternator on a Volkswagen Golf fourth series, following these simple steps. First of all, open the …read all…
Posted on 30 March 2024 by ScegliAuto
Volkswagen Golf (2008-2012 / Golf6, MK 6, 5K1, Golfvi)
Golf 6 alternator replacement

Do we want to replace the alternator of the Golf 6? Let's see how it is removed from inside the engine compartment. We lift the front hood to access the …read all…
Posted on 28 March 2024 by ScegliAuto
Volkswagen Golf (2003-2008 / Golf5, MK 5, Golfv)
Replacing the alternator on the Volkswagen Golf 5

Let's find out in this tutorial the steps that will allow us to disassemble and replace the alternator on the Volkswagen Golf fifth series. First of all we …read all…
Posted on 17 March 2024 by ScegliAuto
Volkswagen Golf (1997-2003 / Golfiv, MK 4, Golf4)
How to replace the alternator of a Volkswagen Golf 4 Series

Let's see how to replace the alternator of a Volkswagen Golf 4 Series. Pull the lever located at the bottom left of the dashboard and lift the bonnet putting …read all…
Posted on 17 November 2023 by ScegliAuto
Volkswagen Golf (2003-2008 / Golf5, MK 5, Golfv)
How to remove the alternator on Volkswagen Golf

How to remove the alternator on Volkswagen Golf? We pull the bar located at the bottom left of the dashboard and lift the bonnet putting it in safety, we …read all…
Posted on 22 October 2023 by ScegliAuto
Volkswagen Golf (2003-2008 / Golf5, MK 5, Golfv)
Alternator pulley replacement

The noise of the alternator pulley is a fairly recurring defect: it is in any case possible to replace only the pulley, which is also easily available in the …read all…
Posted on 17 August 2023 by ScegliAuto
Volkswagen Golf (1997-2003 / Golfiv, MK 4, Golf4)
Alternator replacement instructions

In order to replace the alternator it is first necessary to remove the V-belt: therefore, lift the car on suitable car stands in order to access more easily …read all…
Posted on 16 August 2023 by ScegliAuto
Volkswagen Golf (1997-2003 / Golfiv, MK 4, Golf4)
Alternator disassembly instructions

The first thing to do is to release the alternator pulley from the auxiliary belt by loosening the relative tensioner; then disconnect the socket and unscrew …read all…
Posted on 14 August 2023 by ScegliAuto
Volkswagen Golf (1997-2003 / Golfiv, MK 4, Golf4)
Car alternator replacement

The alternator of a car produces its energy and serves to power the battery. The problems concerning this specific piece are easy to solve, and therefore, it …read all…
Posted on 11 August 2023 by ScegliAuto
Volkswagen Golf (2003-2008 / Golf5, MK 5, Golfv)
Alternator pulley replacement

That of the alternator is a very particular pulley since it is able to ensure the rotation of the alternator shaft in one direction only: accidental rotations …read all…
Posted on 11 August 2023 by ScegliAuto
Volkswagen Golf (1997-2003 / Golfiv, MK 4, Golf4)
Alternator replacement instructions

In order to access the alternator it is first necessary to remove the throttle body which is located in the front left part of the engine (looking at it from …read all…
Posted on 17 July 2023 by ScegliAuto

Accelerator (2) Cigarette Lighter (7) Airbags (18) Alternator (12) Loudspeaker (6) Shock absorbers (15) Antenna (5) Air conditioning (11) Car stereo (73) Anti roll bar (1) Roof Rack Bars (2) Battery (38) Coil (1) Air Vents (18) Bushings (5) Arm (9) Grille (1) Gearbox (10) Spark plugs (16) Glow plugs (5) Soft top (2) Bodywork (17) Glove box (10) Control unit (11) Key (155) Locking the trunk (6) Timing belt (61) V-belt (7) Air conditioning (27) Air conditioning controls (5) -board computer (69) Checks and maintenance (382) Oil pan (1) Throttle body (3) Dashboard (20) Gearshift gaiter (8) Drive shaft boot (1) Bearing (11) Mass air flow sensor (1) Brake discs (13) Rear bench seat (2) Side indicator light (2) Headlight (70) Tail light (20) Fog lights (13) Particulate filter (2) Air filter (23) Cabin air filter (27) Petrol filter (8) Diesel filter (20) Oil filter (4) Hand brake (12) Clutch (6) Grille (5) Air conditioning system (1) Injectors (10) Window lift switch (4) Reverse gear switch (1) Accessory Kit (36) Xenon headlight kit (1) Light bulb (27) Side turn signal light bulb (7) Headlight bulb (61) Rear light bulb (37) Interior lights ceiling light bulb (32) Antifreeze liquid (8) Dashboard light (5) License plate light (12) Third brake light (4) Handle (32) Muffler (2) Mask (1) Engine (28) Window motor (8) Starter motor (17) Gear oil (10) Brake oil (1) Engine oil (30) Power steering oil (1) Door panel (84) Windshield (3) Front bumper (28) Rear bumper (10) Brake pads (15) Hydraulic pistons (7) Tires (12) Gear Shift Knob (41) Pump (32) Fuel pump (24) Door (14) Push button (6) Window lift button (14) Instrument cluster (83) Radiator (18) Passenger compartment heating radiator (13) Wheel (7) Fuse box (127) Seat (55) Drive shaft (8) Crankshaft RPM sensor (1) Coolant temperature sensor (9) Parking sensors (9) Lock (61) Brake system (2) Lambda sensor (3) Suspensions (5) Outside rearview mirror (67) Interior rearview mirror (10) Manufacturer's coat of arms (12) Engine mount (1) Windscreen wipers (36) Thermostat (29) Engine head (4) Steering rods (4) Central tunnel (9) Turbine (3) Windshield washer nozzle (2) Valve (4) EGR valve (8) Interior blower (12) Side window (9) Steering wheel (24)

How to open the Piaggio Beverly saddle with a flat battery

In today's video we see how to open the Piaggio Beverly saddle in case the service battery has run out. First we proceed by opening the compartment on the shield, using the appropriate key. Inside we will find a lever that we will have to pull; at the same time we proceed to unhook the saddle, lifting it. These two operations together, with a little elbow grease, will allow you to open the saddle in cases of extreme need. In fact, we recommend carrying out this operation only if strictly necessary, otherwise it could compromise the correct functioning of the mechanism in the long run.

Watch the video!


by ScegliAuto

More videos