
|
Do it yourself
| |||
| ||||


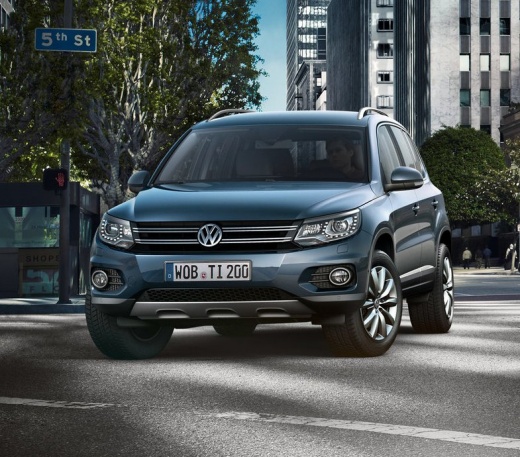
What is the fuse diagram for the VW Tiguan?
Model: Volkswagen Tiguan
MK 1, 5N
- Years:
2007, 2008, 2009, 2010, 2011, 2012, 2013, 2014, 2015, 2016
This video is currently unavailable
The diagram for the vehicle's cabin fuse box is as follows: 9 - Supplemental Restraint System (SRS) control module; 10 - All-wheel drive control module; 11 - Parking aid control module, automatic parking system control module; 12 - Gas discharge headlight control module (LH); 13 - ABS/ESP system, AC system, anti-dazzle interior rear-view mirror, heated windscreen washer jets, seat occupancy control module, transmission control module (TCM), reverse lights, engine management system; 14 - ABS control module, engine control module (ECM), heated seats, power steering control module, suspension control module, trailer control module, AC control module, instrument cluster control module, data bus gateway control module; 15 - Auxiliary heater, data link connector (DLC), parking brake control module, engine management, headlight steering control module; 16 - Gas discharge headlight control module (RH); 17 - Control panel; 18 - Mobile phone control module, multimedia control module; 19 - Steering column function control module 2; 20 - ABS control module, AC system, transmission control module (TCM); 21 - Door function control module, rear left, door function control module, rear right, multifunction control module 2; 22 - Alarm system, multifunction control module 2; 23 - ABS/ESP system, AC system, data link connector (DLC), reverse camera control module, headlight switch; 24 - Door function control module, driver, door function control module, passenger; 25 - Transmission control module (TCM); 26 - 27 - 28 - AC control module, reserve heater; 29 - Rear wiper motor; 30 - 31 - Auxiliary sockets, cigarette lighter; 32 - 33 - 34 - 35 - 36 - 37 - 38 - Steering column function control module 1; 39 - Headlight washer; 40 - Trailer control module; 41 - Trailer control module; 42 - Trailer control module; 43 - Sunroof control module; 44 - Parking brake control module; 45 - Heating fan motor, heated rear window; 46 - Door function control module, driver, door function control module, passenger; 47 - Door function control module, driver, door function control module, rear right; 48 - Fuel pump (FP); 49 - Multifunction control module 2; 50 - Parking brake control module; 51 - AC fan motor control module / heater; 52 - 30 - Seat heating control module; 53 - 30 - Headlight washer; 54 - 30 - Auxiliary sockets; 55 - Lumbar support adjustment; 56 - Suspension control module; 57 - Sunshade control module; 58 - Trailer indicator; 59 - Multimedia control module.
Updated on 18 May 2026 by ScegliAuto
Related tutorials
Volkswagen Tiguan
(2007-2016 /
MK 1, 5N)
These short and simple information will show us the positioning and the layout of the internal fuse box of the Volkswagen Tiguan. First, we open the …

Volkswagen Tiguan
(2007-2016 /
MK 1, 5N)
This article includes a video explaining the fuse diagram and placement for your Volkswagen Tiguan. Fuses are designed to prevent damage to the vehic…
Volkswagen Tiguan
(2016-2025 /
BW, MK 2, AD)
Today's guide shows you the positioning and layout of the fuses in the Volkswagen Tiguan, following these simple and quick steps. First, open the bon…
ScegliAuto offers an extensive international collection of automotive tutorials available in 12 languages. Each guide combines instructional videos with original explanations written by experienced human editors, along with information about the car models covered.
Other guides you may be interested in
|
How to Reset the Tyre Warning Light on the Hyundai I10
The tyre warning light on the instrument panel of your Hyundai I10 (third series) alerts you when there is a puncture or when the tyres are inflated to the wrong pressure. If it lights up accidentally, you can reset it manually by following these steps. Once the instrument panel is on, press the directional button located on the right side of the steering wheel and find the tyre pressure display screen. Finally, press and hold the "OK" button for a few seconds and select the "Set" option to complete the reset of the light. by ScegliAuto More videos
|
For advertising on this site Write to info@scegliauto.com
ScegliAuto is not responsible for any inaccuracy of the data in the lists. To report any inaccuracy or your business (if you own the business in question), please write to info@scegliauto.com
Number of seconds to generate the page: 0.153
(c) ScegliAuto 2026 - info@scegliauto.com - Privacy policy - About us VAT number: IT01247470535 |
