
|
Do it yourself
| |||
| ||||


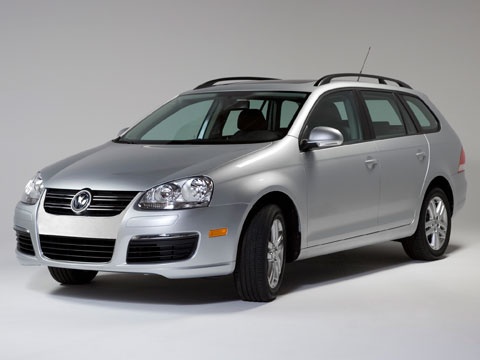
Instructions for Replacing Glow Plugs
Model: Volkswagen Jetta
MK 5, A5
- Years:
2005, 2006, 2007, 2008, 2009, 2010
Video tutorial
It is recommended to perform this maintenance with the engine cold since the glow plugs are screwed directly into the cylinder head; you can also identify which glow plug to replace by running a diagnostic on the engine management unit: you will find a fault code related to the pre-heating system indicating the cylinder number in question (the second in this case). Remove the plastic cover on the engine, disconnect the connector from the glow plug to be replaced, blow into the socket to remove any dirt, and unscrew the glow plug itself; manually screw in the new one and then tighten with a spanner and reconnect the connector; then clear the fault memory.
Updated on 14 February 2026 by ScegliAuto
Related tutorials
Volkswagen Jetta
(2005-2010 /
MK 5, A5)
Glow plugs prevent the emission of dense and polluting smoke when the car is in motion. When they wear out, they need to be replaced. The following g…

Volkswagen Jetta
(2005-2010 /
MK 5, A5)
Spark plugs are a fundamental component of the engine; replacing them is not a very difficult task. Once you open the bonnet, allow the engine to coo…

Volkswagen Jetta
(2005-2010 /
MK 5, A5)
The first operation is to detach the upper grille located at the centre of the dashboard; then unscrew the fixing screws of the underlying support an…
Other guides you may be interested in
|
How to Remove the Rear Seat of a Hyundai Tucson?
To remove the rear seat of a Hyundai Tucson, follow these steps. Start by moving the front seats to their most forward position to gain space. Next, locate the release lever on the underside of the rear seat, near the floor. Press this lever down while pulling the seat upwards to unlock it from the anchor pins. Once unlocked, tilt the seat upwards and forwards to remove it from its position. Repeat this process for both sides of the rear seat. Be careful of any electrical cables or components that may be connected to the seat during removal. Once the rear seat is removed, the disassembly is complete. by ScegliAuto More videos
|
|
For advertising on this site Write to info@scegliauto.com
ScegliAuto is not responsible for any inaccuracy of the data in the lists. To report any inaccuracy or your business (if you own the business in question), please write to info@scegliauto.com
Number of seconds to generate the page: 0.030
(c) ScegliAuto 2026 - info@scegliauto.com - Privacy policy VAT number: IT01247470535 |
