
|
Do it yourself
| |||
| ||||



BMW 1 Series Brake Pad Wear Warning Reset
Model: BMW Serie 1
F21, MK 2, F20
- Years:
2011, 2012, 2013, 2014, 2015, 2016, 2017, 2018, 2019
Video tutorial
It’s time to replace the brake pads; your 1 Series will alert you via the display on the instrument cluster. Remember that in addition to the pads, you must ALWAYS replace the corresponding sensor mounted on the left for the front pads and on the right for the rear pads. Turn on the ignition by pressing the button without pressing the clutch or brake (the engine must not be started). The dashboard will light up with the warning light; press the reset button at the bottom left to change the screen. Once on the main screen, press and hold the reset button, and the display will show the resettable items. Release the button; select the desired item (the front pads in this case) and press and hold the reset button until the display shows the reset status. Release the button and press again, holding it until the display requests confirmation of the reset. Release the button, then press and hold again until the display shows the reset in progress message. Release the button and wait for the procedure to complete, confirmed by a green message. Mission accomplished.
Updated on 31 May 2026 by ScegliAuto
Related tutorials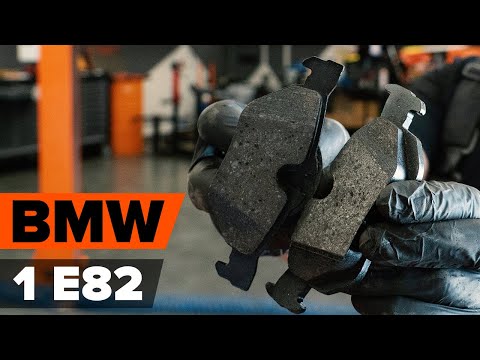
BMW Serie 1
(2011-2019 /
F21, MK 2, F20)
In this video, we will show you how to replace the rear brake pads on a BMW 1 Series 116d 5-door. Start by removing the rear wheels as shown in the v…
BMW Serie 1
(2004-2013 /
E81, E82, MK 1, E87)
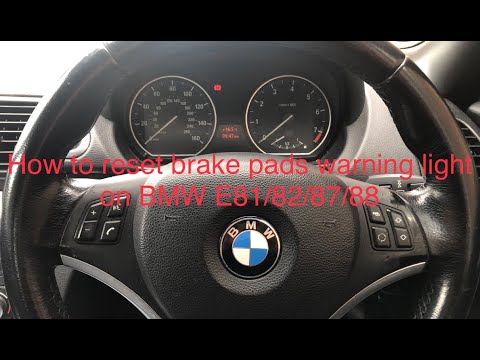
This guide shows how to reset the brake pad replacement warning light on a BMW 1 Series E87. Perform this reset only after successfully replacing the…
BMW Serie 1
(2004-2013 /
E81, E82, MK 1, E87)
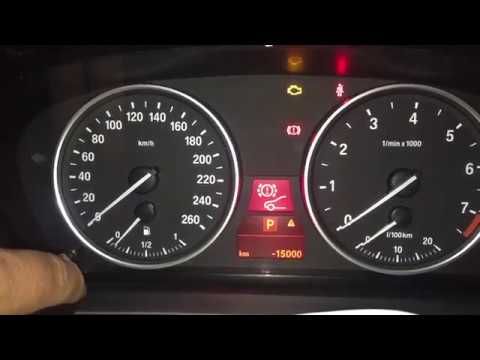
To reset the brake wear warning light on the BMW 1 Series, insert the key and turn it to switch on the instrument cluster. Once the cluster is on, pr…
Other guides you may be interested in
|
Frequently Asked QuestionsHow to Remove the Rear Seat of a Hyundai Tucson?
To remove the rear seat of a Hyundai Tucson, follow these steps. Start by moving the front seats to their most forward position to gain space. Next, locate the release lever on the underside of the rear seat, near the floor. Press this lever down while pulling the seat upwards to unlock it from the anchor pins. Once unlocked, tilt the seat upwards and forwards to remove it from its position. Repeat this process for both sides of the rear seat. Be careful of any electrical cables or components that may be connected to the seat during removal. Once the rear seat is removed, the disassembly is complete. by ScegliAuto More videos
|
|
For advertising on this site Write to info@scegliauto.com
ScegliAuto is not responsible for any inaccuracy of the data in the lists. To report any inaccuracy or your business (if you own the business in question), please write to info@scegliauto.com
Number of seconds to generate the page: 0.055
(c) ScegliAuto 2026 - info@scegliauto.com - Privacy policy VAT number: IT01247470535 |
