
|
Do it yourself
| |||
| ||||


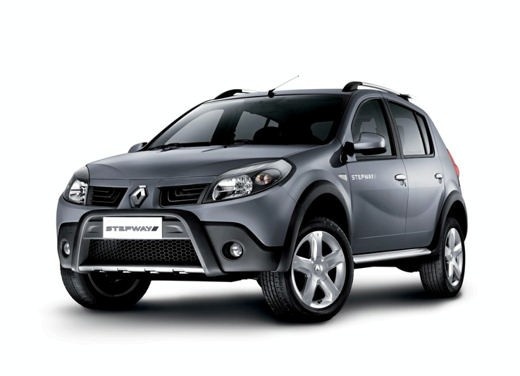
How to Remove the Timing Belt on a Dacia
Model: Dacia Sandero
BS
- Years:
2008, 2009, 2010, 2011, 2012
Video tutorial
Removing the timing belt is a lengthy and extremely complex operation that requires tools and professional skills, as we will see. First, lift the vehicle; then open the radiator cap, locate the connecting hose under the vehicle, and remove the plastic covers. Drain all the coolant using a compressor. Check the quality of the coolant. Remove the front right wheel and wheel arch. Identify the various connecting hoses. Disconnect the battery; it is advisable to use a battery charger to avoid losing charge. From the bonnet, disconnect the coolant connections to the engine and remove the engine cover. Check under the vehicle for the position of the timing gear and measure it with a caliper. Remove the bolt connecting the gear to the drive belt, then remove the belt. Unscrew the engine mounts. Once the mounts are removed, you will finally see the timing belt; it is important to take a reference point to ensure the belt movement is synchronized. Loosen the bolts of the connecting gear and remove it; finally, you can take off the timing belt. Now the water pump will need to be removed, which should be replaced when changing the timing belt.
Updated on 11 March 2026 by ScegliAuto
Related tutorials
Dacia Sandero
(2012-2020 /
B8)
Follow the main instructions below to remove and replace the timing belt on the Dacia Sandero 1.5 DCI. First, raise the vehicle and remove the front …

Dacia Sandero
(2008-2012 /
BS)
Today we will see the main instructions on how to disassemble and replace the timing belt of the Dacia Sandero 1.4. First, we open the car's engine h…

Dacia Sandero
(2008-2012 /
BS)
Today's instructions will guide you through the steps to remove and replace the timing belt on the Dacia Sandero 1.4. First, open the bonnet and begi…
Other guides you may be interested in
|
How to Reset the Tire Pressure Light on a MG ZS?
On the instrument cluster of the MG ZS, the tire pressure light that appears can be reset by inflating the tires to the correct pressure: this value will be indicated on the sticker attached to the driver's door pillar. Once the tires have been properly inflated, you can turn on the instrument cluster and navigate through the menu until you find the option that indicates tire pressure: if this screen shows the new values, the light will turn off; otherwise, you will need to drive for a few miles so that the sensors can read the new values and turn off the light afterward. by ScegliAuto More videos
|
|
For advertising on this site Write to info@scegliauto.com
ScegliAuto is not responsible for any inaccuracy of the data in the lists. To report any inaccuracy or your business (if you own the business in question), please write to info@scegliauto.com
Number of seconds to generate the page: 0.105
(c) ScegliAuto 2026 - info@scegliauto.com - Privacy policy VAT number: IT01247470535 |
