
|
Do it yourself
| |||
| ||||


How to change the oil and filters of a Proton X70
Model: (Various brands) Various
In this video we can see how to perform the periodic maintenance of the Proton X70: the maintenance interval is scheduled for 20,000 km or one year, whichever comes first, and engine oil, coolant and brake fluid are checked; oil filter, air filter and fuel filter; brake pads, discs and brake fluid; shock absorbers; timing belt and accessory belt, as well as tire pressure and tread condition. If we decide to do it ourselves, we have to lift the car and remove the protective cover under the engine. We will have to remove the oil pan plug and let the engine oil drain into a suitable container, which we will then dispose of at an authorized center. Next to it is the filter, which we will change using a special wrench. We close the oil pan with a new plug and gasket and refill the oil from the engine cap, with SAE 5W30 quality oil; we change the air filter, which is in a very convenient position, put the oil filter back in place and close the cover that protects the engine, also in the upper part.
Posted on 18 March 2025 by ScegliAuto
Video tutorial
Related tutorials
(Various brands) Various
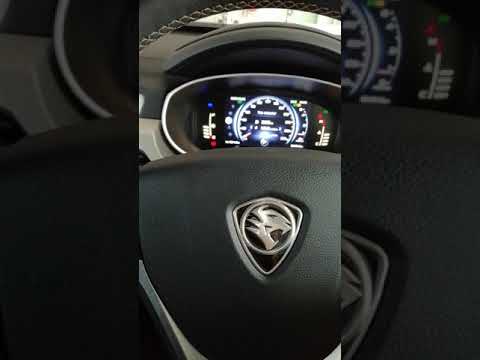
These short steps will illustrate the procedure for resetting the service maintenance light for the Proton X70 engine oil change. First, we get into …
(Various brands) Various
In this tutorial, learn how to reset the service light on a Proton X70, a very simple and quick operation, to be performed only after completing all …

(Various brands) Various
Let's learn how to reset the Service light in the Proton X70, do it yourself and using only the buttons on the steering wheel. It is emphasized that …
Other guides you may be interested in
|
Frequently Asked QuestionsHow to Replace the Battery on a Honda Vision 110
To replace the battery on a Honda Vision 110, you need to remove the front fairing of the motorcycle, located directly under the front headlamp. To loosen this panel, unscrew the two screws found at its top, just below the handlebar. Once these screws are loosened, lever under the panel to detach it, gaining access to the battery underneath: this battery must be removed from its housing by unscrewing the fixing screws and disconnecting the power cables, replacing it with a new one. by ScegliAuto More videos
|
|
For advertising on this site Write to info@scegliauto.com
ScegliAuto is not responsible for any inaccuracy of the data in the lists. To report any inaccuracy or your business (if you own the business in question), please write to info@scegliauto.com
Number of seconds to generate the page: 0.620
(c) ScegliAuto 2026 - info@scegliauto.com - Privacy policy VAT number: IT01247470535 |
