
|
Do it yourself
| |||
| ||||


Removal of Heating Internal Radiator
Model: Volkswagen Golf
MK 3, Golf III, Golf 3
- Years:
1991, 1992, 1993, 1994, 1995, 1996, 1997
Video tutorial
The internal radiator for the cabin heating is located at the centre of the dashboard, behind the central tunnel: start by removing the gear lever handle, the cover at the base of the lever, and the side fastening pins, continuing with those of the glove compartment and other accessory elements of the dashboard. Once the central tunnel console is removed, disconnect the cigarette lighter socket and proceed with the removal of the air vents, the heating adjustment controls, and the rear air ducts. Remove the cover located under the dashboard on the passenger side, where the ventilation fan is also found; then access the engine bay to disconnect the supply and return hoses of the coolant to the internal radiator and place rags on the passenger side mat to absorb the fluid during the extraction of the air duct, within which the radiator is located.
Updated on 13 February 2026 by ScegliAuto
Related tutorials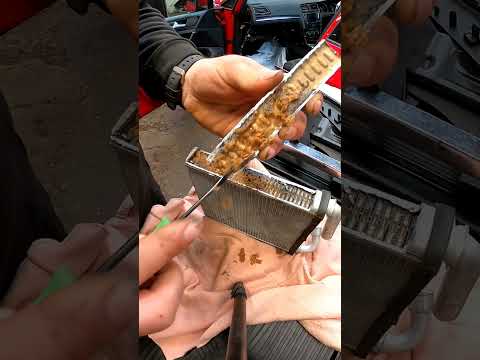
Volkswagen Golf
(2012-2019 /
MK 7, Golf 7, Golf VII)
The procedure for replacing the cabin heater radiator in the Volkswagen Golf requires completely removing the dashboard to access the components insi…

Volkswagen Golf
(1991-1997 /
MK 3, Golf III, Golf 3)
To remove the heating radiator in a Volkswagen Golf, you need to completely dismantle the lower part of the dashboard next to the pedal area: once th…

Volkswagen Golf
(2012-2019 /
MK 7, Golf 7, Golf VII)
Below, we will discover how to remove and replace the cabin heater radiator in a Volkswagen Golf. First, open the bonnet and start disconnecting the …
Other guides you may be interested in
|
How to Open the Bonnet on the Mitsubishi L200?
In this tutorial, you will see how to open the bonnet on the Mitsubishi L200, a very simple operation that follows the standard procedure. First, open the vehicle and go to the driver's side, then locate the lever at the lower outer area, just in front of the pedals, and pull it. Next, position yourself in front of the bonnet, locate the second lever above the Mitsubishi logo, and push it to the right, releasing the latch. At this point, you can fully lift the bonnet and secure it with the prop rod. by ScegliAuto More videos
|
|
For advertising on this site Write to info@scegliauto.com
ScegliAuto is not responsible for any inaccuracy of the data in the lists. To report any inaccuracy or your business (if you own the business in question), please write to info@scegliauto.com
Number of seconds to generate the page: 0.044
(c) ScegliAuto 2026 - info@scegliauto.com - Privacy policy VAT number: IT01247470535 |
