
|
Do it yourself
| |||
| ||||


How to change a headlight bulb on a Ford C-Max
Model: Ford C Max
MK 2
- Years 2010-2019
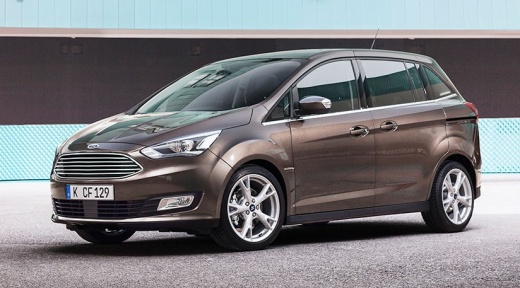
The operation requires partially releasing the headlight; it is a procedure that therefore requires a bit of patience. Let's open the hood; if working on the left headlight and more space is needed, we can remove the battery. The main bolts are two Torx T40, one visible from the outside near the hood, and one on the side, positioned towards the center of the vehicle, often accessible only by turning the steering wheel completely in the opposite direction of the headlight to be replaced. Now the headlight is held only by two clips: let's grasp it firmly and pull straight out, but do not pull too hard, because the headlight is still connected to the electrical connector! Behind the headlight, we find the black plastic caps that protect the bulb holders. Let's choose the one we are interested in, open it, disconnect the connector, remove the bulb holder held by a spring clip, replace the bulb (the new one should not be touched with bare hands), reassemble the bulb holder, the spring clip, the electrical connector, and the rubber cap. Before reassembling the headlight, let's perform a functionality test; push the headlight into its seat to engage the clips and screw the two Torx screws back in.
Posted on 11 September 2026 by ScegliAuto
Video tutorial
Related tutorials
Ford C Max
(2010-2019 /
MK 2)
Today we will explain how to easily and quickly replace the battery of the Ford C Max car remote control. In case you are unable to replace the batte…

Ford C Max
(2003-2010 /
MK 1)
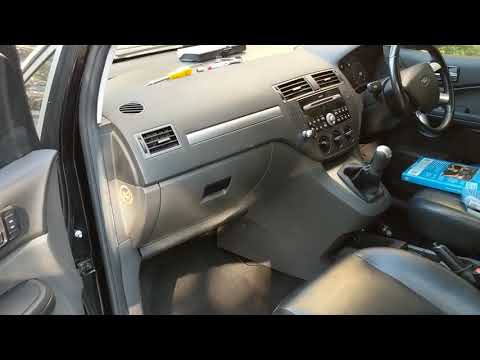
Today we will focus on identifying and reaching the fuse box of our Ford C Max. We start by opening the front passenger door. Then, we will need to b…
Ford C Max
(2003-2010 /
MK 1)
The fuse box of your Ford C-Max is located beneath the glove compartment of the front passenger side. To access it, start by opening the front passen…
Other guides you may be interested in
|
How to Replace the Battery on a Honda Vision 110
To replace the battery on a Honda Vision 110, you need to remove the front fairing of the motorcycle, located directly under the front headlamp. To loosen this panel, unscrew the two screws found at its top, just below the handlebar. Once these screws are loosened, lever under the panel to detach it, gaining access to the battery underneath: this battery must be removed from its housing by unscrewing the fixing screws and disconnecting the power cables, replacing it with a new one. by ScegliAuto More videos
|
|
For advertising on this site Write to info@scegliauto.com
ScegliAuto is not responsible for any inaccuracy of the data in the lists. To report any inaccuracy or your business (if you own the business in question), please write to info@scegliauto.com
Number of seconds to generate the page: 0.246
(c) ScegliAuto 2026 - info@scegliauto.com - Privacy policy VAT number: IT01247470535 |
