
|
Do it yourself
| |||
| ||||


Land Rover Freelander - Instrument clusterInstrument Cluster Land Rover Freelander (2006-2016 / freelander 2) Land Rover Freelander (2006-2016 / Freelander2)
How to Fix the Fuel Gauge Issue on the Land Rover Freelander II This is a simple way to fix the stuck fuel gauge issue on the Land Rover Freelander II: open the bonnet and disconnect the negative terminal, then wait 10 to …Read all… Posted on 30 July 2026 by ScegliAuto 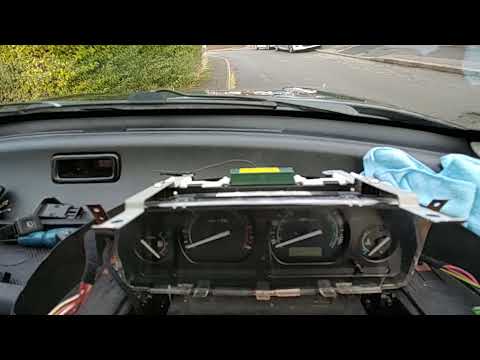 Land Rover Freelander (1997-2006 / Freelander1)
How to Replace the Instrument Cluster on a Land Rover Freelander? To replace the instrument cluster on a Land Rover Freelander, use a tool to lever out the buttons located on the left side of the cluster. Once these are …Read all… Posted on 12 August 2026 by ScegliAuto 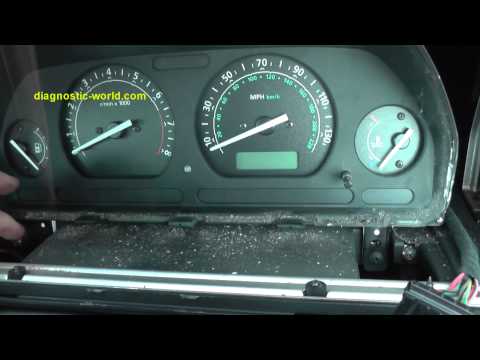 Land Rover Freelander (1997-2006 / Freelander1)
How to replace the instrument cluster in the Land Rover Freelander? To replace the instrument cluster in the Land Rover Freelander, remove the steering wheel by first disconnecting the front airbag and then unscrewing the nut …Read all… Posted on 19 August 2026 by ScegliAuto Instrument Cluster Land Rover Freelander (1997-2006 / freelander 1)
Land Rover Freelander (2006-2016 / Freelander2)How to Fix the Fuel Gauge Issue on the Land Rover Freelander II This is a simple way to fix the stuck fuel gauge issue on the Land Rover Freelander II: open the bonnet and disconnect the negative terminal, then wait 10 to …Read all… Posted on 30 July 2026 by ScegliAuto
Land Rover Freelander (1997-2006 / Freelander1)How to Replace the Instrument Cluster on a Land Rover Freelander? To replace the instrument cluster on a Land Rover Freelander, use a tool to lever out the buttons located on the left side of the cluster. Once these are …Read all… Posted on 12 August 2026 by ScegliAuto
Land Rover Freelander (1997-2006 / Freelander1)How to replace the instrument cluster in the Land Rover Freelander? To replace the instrument cluster in the Land Rover Freelander, remove the steering wheel by first disconnecting the front airbag and then unscrewing the nut …Read all… Posted on 19 August 2026 by ScegliAuto Airbag (1) Car stereo (9) Battery (4) Air vents (2) Control arm (1) Transmission (1) Spark plugs (2) Convertible top (1) Body (2) Key (8) Trunk lock (2) Timing belt (13) V-belt (3) Onboard computer (1) Checks and maintenance (4) Dashboard (2) Bearing (1) Differential (4) Brake rotors (1) Headlight (3) Tail light (2) Fog lights (1) Diesel particulate filter (1) Air filter (9) Cabin air filter (7) Diesel fuel filter (10) Oil filter (1) Clutch (5) Light bulb (1) Headlight bulb (6) Handle (2) Engine (1) Starter motor (1) Engine oil (3) Power steering fluid (1) Clock (1) Door trim panel (7) Front bumper (1) Brake pads (1) Hydraulic pistons (1) Shift knob (7) Fuel pump (7) Car door (2) Instrument cluster (3) Fuse box (4) Door lock (5) Suspension system (1) Side mirror (1) Warning light – error code (8) (2) Service warning light (20) Engine mount (1) Center console tunnel (1) Turbocharger (1) EGR valve (2) Steering wheel (3) |
Fuses Location and Diagram for the Volkswagen Crafter
In this guide, we will look at the location of the fuse boxes and how to find their diagram for the Volkswagen Crafter. First, get inside the vehicle and start by removing the plastic cover found under the steering wheel, to access the internal fuse box; you will find another fuse box in the engine compartment by removing the plastic cover located next to the battery. At this point, use the owner's manual to find the fuse diagram, which will allow you to identify and replace any blown fuses with new ones! by ScegliAuto More videos
|
|
For advertising on this site Write to info@scegliauto.com
ScegliAuto is not responsible for any inaccuracy of the data in the lists. To report any inaccuracy or your business (if you own the business in question), please write to info@scegliauto.com
Number of seconds to generate the page: 0.012
(c) ScegliAuto 2026 - info@scegliauto.com - Privacy policy VAT number: IT01247470535 |
