
|
Do it yourself
| |||
| ||||


Installing a PDF Emulator with ECU Modification
Model: Land Rover Freelander
Freelander 1
- Years:
1997, 1998, 1999, 2000, 2001, 2002, 2003, 2004, 2005, 2006
Video tutorial
Remove the battery cover and disconnect the negative terminal by loosening the clamp. Unscrew the screws of the grille under the windscreen to lift it. Disconnect the three connectors from the ECU. Lever the side tabs of the ECU with a screwdriver to detach it from the mount and remove it completely. If a DIY modification is not possible, send the ECU to the service centre. Once the modified ECU with emulator is returned, reposition it in its housing and reconnect the negative terminal of the battery. Route the emulator wiring through a passage to bring the two connectors into the engine bay. Remove the engine protection cover and locate the rail pressure sensor, then disconnect its connector. Remove the reference tabs on the original connector and the emulator connector, then insert the original connector into the emulator connector and the emulator connector into the sensor. Refit the engine cover and correctly position the cables. Lift the vehicle on a ramp and locate the DPF sensor and extension, disconnect the sensor connector and remove the extension. Retrieve the wiring previously lowered into the engine and connect the two ends to eliminate the extension. Route the cables to the battery bulkhead and connect the ground cable to the negative terminal. Connect the PDF emulator and secure it firmly with a tie wrap. Refit the covers.
Updated on 3 February 2026 by ScegliAuto
Related tutorials
Land Rover Freelander
(2006-2016 /
Freelander 2)
This is a simple way to fix the stuck fuel gauge issue on the Land Rover Freelander II: open the bonnet and disconnect the negative terminal, then wa…
Land Rover Freelander
(1997-2006 /
Freelander 1)
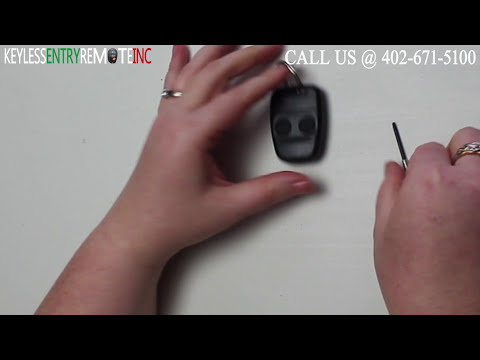
Replacing the key battery on a Land Rover Freelander. Let's look at removing the old battery from the key and installing the new one. Pry open the re…

Land Rover Freelander
(1997-2006 /
Freelander 1)
In this video, learn how to remove the lower arm of a Land Rover Freelander. First, place the vehicle on a column lift and loosen the wheel nuts with…
Other guides you may be interested in
|
How to Remove the Rear Seat of a Hyundai Tucson?
To remove the rear seat of a Hyundai Tucson, follow these steps. Start by moving the front seats to their most forward position to gain space. Next, locate the release lever on the underside of the rear seat, near the floor. Press this lever down while pulling the seat upwards to unlock it from the anchor pins. Once unlocked, tilt the seat upwards and forwards to remove it from its position. Repeat this process for both sides of the rear seat. Be careful of any electrical cables or components that may be connected to the seat during removal. Once the rear seat is removed, the disassembly is complete. by ScegliAuto More videos
|
|
For advertising on this site Write to info@scegliauto.com
ScegliAuto is not responsible for any inaccuracy of the data in the lists. To report any inaccuracy or your business (if you own the business in question), please write to info@scegliauto.com
Number of seconds to generate the page: 0.044
(c) ScegliAuto 2026 - info@scegliauto.com - Privacy policy VAT number: IT01247470535 |
