
|
Do it yourself
| |||
| ||||


How to Wire a LED Light Bar on a Car
Model: (Various brands) Various
Let’s see how to wire a LED light bar on a car: disconnect the negative terminal of the battery; mount the LED bar in a solid position (bumper, roof, grille). Check local regulations on the placement and use of auxiliary lights. For mounting the relay/fuse, position it near the battery on the inner wing, then secure it with a self-tapping screw or existing bolt. Connect the fuse wire to the positive battery terminal. Now connect to the dipped beam headlights. Locate the rear fog light connector, connect the kit adapter between the original connector and the bulb, connect the third output to the relay wire of the kit, and proceed to the cabin wiring, mounting the manual switch in a position accessible to the driver. Pass the wires through the grommet in the firewall. Connect the LED bar with the ground (negative) connected to the negative battery terminal or a bolt in contact with the bodywork; the positive must be connected to the free connector of the relay. Make the connections watertight with heat shrink tubing. Reconnect the negative battery terminal, turn on the dipped beams + switch the bar ON. The bar should only light up with the fog lights.
Posted on 8 February 2026 by ScegliAuto
Video tutorial
Related tutorials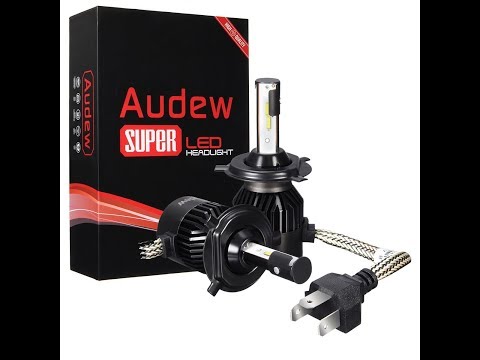
…

(Various brands) Various
Let's look at the pros and cons of Xenon and LED technologies: Xenon is currently considered an obsolete technology. The light quality is superior to…

(Various brands) Various
Installing LED lights on the vehicle is a very simple procedure to carry out independently. The first thing to do is to purchase the LED strip on any…
Other guides you may be interested in
|
Frequently Asked QuestionsHow to Open the Bonnet on the Lancia Y
To open the bonnet on this vehicle, follow these simple instructions: first, open the driver's door and locate the lever positioned just below the dashboard, marked with an image of the vehicle with the bonnet open. Pull this lever towards you until you hear a "click" indicating the bonnet is released. Next, exit the cabin and stand in front of the bonnet to disengage the safety catch and complete the opening. To do this, slightly lift the bonnet, locate the yellow lever underneath, and pull it to the left to fully release and open the bonnet. by ScegliAuto More videos
|
|
For advertising on this site Write to info@scegliauto.com
ScegliAuto is not responsible for any inaccuracy of the data in the lists. To report any inaccuracy or your business (if you own the business in question), please write to info@scegliauto.com
Number of seconds to generate the page: 0.578
(c) ScegliAuto 2026 - info@scegliauto.com - Privacy policy VAT number: IT01247470535 |
