
|
Do it yourself
| |||
| ||||


DIY Service, Engine Oil and Filter Replacement
Model: Volvo S40
MK 1
- Years 1995-2004
Replacing the oil and the corresponding filter are simple but very important operations for the longevity of the engine; it is advisable to strictly adhere to the deadlines indicated by the onboard computer.
First, lift the car with a workshop jack; avoid using the one provided with the vehicle and for added safety, secure it with a stand. Now, remove the plastic cover under the engine, take out the 7 clips and remove it completely, place a flat but large container under the oil sump, unscrew the plug and let all the oil drain out. Next, remove the old oil filter; to access it, you need to disassemble the air intake by removing the bolts as shown in the guide, then, with a socket wrench with a 36 mm socket, unscrew the filter cover. Once the cover with the filter is removed, take out the filter, remove the old o-ring, insert the new filter and the sealing ring. Re-screw the filter plug into its seat, check that all the oil has drained out and re-screw the sump plug; now you can lower the jack and add the new oil, checking with the dipstick not to exceed the level. Once the level is reached, start the engine for a short time, turn off the engine and let it cool; after 10 minutes, check the level again and top up the oil if necessary.
Updated on 1 February 2026 by ScegliAuto
Video tutorial
Related tutorials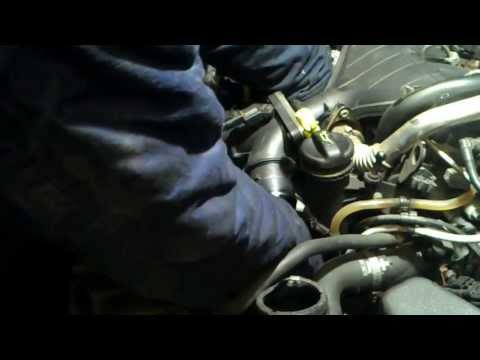
Volvo S40
(2004-2012 /
MK 2)
How to replace the oil filter on a Volvo S40? Follow this guide: Open the car door and pull up the engine compartment release lever located at the bo…
Volvo S40
(1995-2004 /
MK 1)
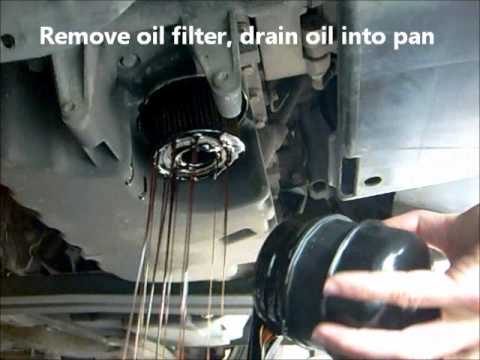
Here is a video illustrating how to replace the engine oil and filter on a Volvo S40 (the same procedure applies to the Volvo V40). First, remove the…
Volvo S40
(1995-2004 /
MK 1)
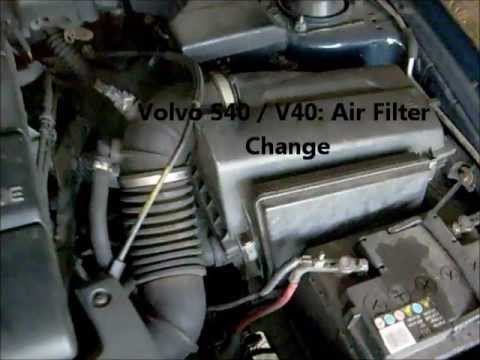
This short video illustrates the procedure for replacing the engine air filter on a Volvo S40. First, unclip the four clips that hold the filter box …
Other guides you may be interested in
|
How to reset the tyre pressure warning light on the Suzuki Jimny?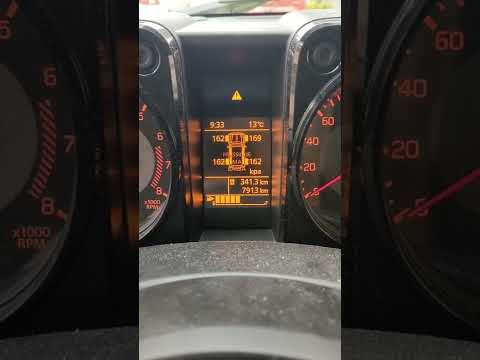
To reset the tyre pressure warning light on the Suzuki Jimny, first inflate the tyres to the pressure value indicated on the corresponding sticker: this is located at the bottom of the driver's door pillar. Once the tyres are inflated, insert the ignition key and turn on the instrument panel: select the screen that indicates the tyre pressures, checking that the values change. After a few seconds, the tyre pressure warning light will automatically turn off. by ScegliAuto More videos
|
|
For advertising on this site Write to info@scegliauto.com
ScegliAuto is not responsible for any inaccuracy of the data in the lists. To report any inaccuracy or your business (if you own the business in question), please write to info@scegliauto.com
Number of seconds to generate the page: 0.345
(c) ScegliAuto 2026 - info@scegliauto.com - Privacy policy VAT number: IT01247470535 |
