
|
Do it yourself
| |||
| ||||


Disassembly of the Cabin Ventilation Unit
Model: Peugeot 406
MK 1
- Years 1995-2005
This video illustrates the various stages of disassembly (first from the car and then in each individual part) of the cabin ventilation and heating unit. The first image refers to the unit as it is visible immediately after removing the dashboard. Disassembling the unit is somewhat laborious. Disconnect the pipes carrying the engine coolant at the firewall by removing the metal clips. The air conditioning pipes can be extracted once the screws are undone, but the refrigerant must be removed with the help of a qualified technician. There are two screws behind the cabin filter, another screw behind the brake pump, and another near the exhaust gas recirculation valve. There is also a screw that secures the unit to the floor and several clips. Then, in sequence, you can see the screw locations on the firewall, those on the left located in the wheel arch on the passenger side behind the brake pump, and the one on the right, although hidden by the resistors. The metal clips shown are for the pipes, while the plastic one is for the air conditioning pipes and must be removed to move the pipes. Next, you will see the location and screws for the cabin filter. Now that the unit is removed from the car, disassemble it into its main parts. Remove the upper vent pipes. Remove the fan motor. Disassemble the radiator. Remove the motor that controls the air recirculation and the one that moves the flaps to vary the airflow. Remove the control unit that regulates the fan speed, probably when in automatic mode. A temperature sensor, a heating resistor, and another airflow control motor are also removed. At this point, separate the front part. Remove the upper casing, the sensor, and the heat exchanger. From here, you can see the drain hole for the condensation that exits from the car floor through a pipe. Now you can see the fan motor and the heat exchanger in their place, along with all the flaps that divert the airflow inside the unit.
Updated on 9 February 2026 by ScegliAuto
Video tutorial
Related tutorials
Peugeot 406
(1995-2005 /
MK 1)
In today's video we will discover the instructions that will allow us to disassemble and replace the air vents of the Peugeot 406, in simple and quic…
Peugeot 406
(1995-2005 /
MK 1)
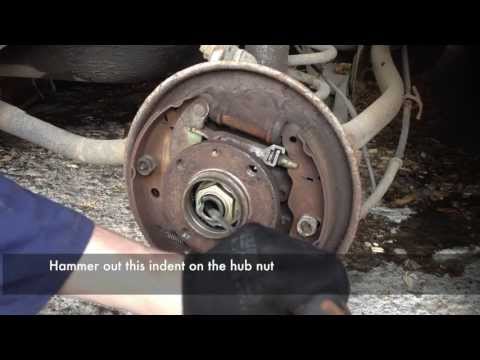
Lift the vehicle on a lift or on suitable axle stands; then remove the rear wheel and the fixing bolt of the drum bell to remove it. At this point, r…
Peugeot 406
(1995-2005 /
MK 1)
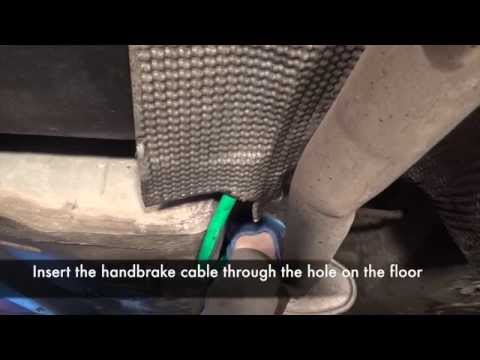
To replace the handbrake cable, first remove the central tunnel cover; once the cover is off, disconnect the cable from the handbrake lever and pass …
Other guides you may be interested in
|
How to Open a Stuck Boot on the Peugeot 407?
On the Peugeot 407, the boot may become stuck, possibly due to a problem with the control button or the lock actuator. In such cases, you can perform an emergency opening by following the simple procedure shown in this tutorial. First, open the rear doors, then lower the seat back by operating the release lever. Next, go inside the boot, locate the lock, and manually operate it using a flathead screwdriver. The boot will then be free to open. by ScegliAuto More videos
|
|
For advertising on this site Write to info@scegliauto.com
ScegliAuto is not responsible for any inaccuracy of the data in the lists. To report any inaccuracy or your business (if you own the business in question), please write to info@scegliauto.com
Number of seconds to generate the page: 0.475
(c) ScegliAuto 2026 - info@scegliauto.com - Privacy policy VAT number: IT01247470535 |
