Do it yourself
Frequently asked questions about cars and motorcycles

Fuse Box Diagram for Citroen Xsara Picasso

Model: Citroen Xsara Picasso MK 1 - Years: 1999, 2000, 2001, 2002, 2003, 2004, 2005, 2006, 2007, 2008, 2009, 2010

Video tutorial

This video shows the location of the fuses in a Citroen Xsara Picasso. Firstly, 18 fuses are displayed on the right side of the engine compartment, connected to: the reverse light, the rear window heater, the coolant, the ABS, the engine and automatic gearbox control unit, the automatic lighting, the fuel presence sensor, the fog lights, the dipped beam lights, the warning signal, the engine sensors, the air pump, the windscreen wipers, and the air conditioning.

The video then indicates the need to close the fuse box by applying the plastic cover. Finally, the fuse box located in the dashboard to the left of the steering wheel is shown, accessible by removing the designated cover.

The fuses are connected to various functions of the car including the navigation system control unit, the front and rear electric windows, the instrument cluster, and the central locking.


Updated on 7 July 2026 by ScegliAuto


Related tutorials

Citroen Xsara Picasso (1999-2012 / MK 1) Good morning, today we are here to discover the fuse layout of our Citroen Xsara Picasso and how to access the fuse box itself. The attached video ex…
Citroen Xsara Picasso (1999-2012 / MK 1) In this video, we can see the fuse diagram for the Citroen Xsara Picasso, useful if you have lost the manual and one or more devices in the car are n…
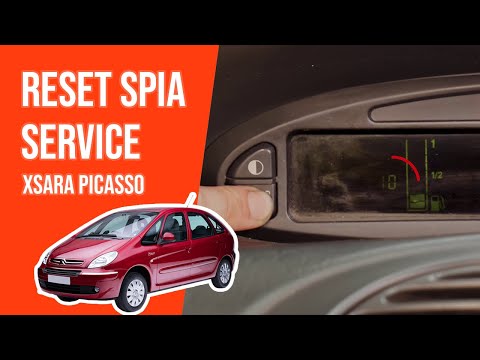
Citroen Xsara Picasso (1999-2012 / MK 1) Before you begin, sit in the driver's seat of your Citroen Xsara Picasso. Start by pressing and holding the button located at the bottom left of the …

Other guides you may be interested in

How to Open the Bonnet on the Mitsubishi L200?

In this tutorial, you will see how to open the bonnet on the Mitsubishi L200, a very simple operation that follows the standard procedure. First, open the vehicle and go to the driver's side, then locate the lever at the lower outer area, just in front of the pedals, and pull it. Next, position yourself in front of the bonnet, locate the second lever above the Mitsubishi logo, and push it to the right, releasing the latch. At this point, you can fully lift the bonnet and secure it with the prop rod.

Watch the video!


by ScegliAuto

More videos