
|
Do it yourself
| |||
| ||||


Hyundai Elantra Years 1995-2000 (MK 2, J2) Hyundai Elantra (1995-2000 / MK 2, J2)
Automatic gearbox oil change Replacing the oil in the gearbox, especially in the case of automatic transmission, will benefit the operation of the transmission itself and the engagement …read all… Posted on 12 September 2023 by ScegliAuto  Hyundai Elantra (1995-2000 / MK 2, J2)
Fuel pump relay position If it happens that the engine does not start even if it turns regularly with the starter motor, it is likely that no fuel arrives due to a malfunction of the …read all… Posted on 25 August 2023 by ScegliAuto 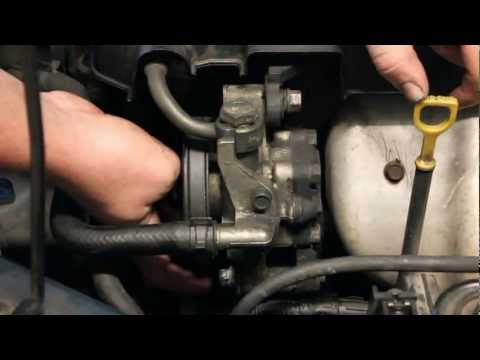 Hyundai Elantra (1995-2000 / MK 2, J2)
Power steering pump replacement instructions The replacement of the power steering pump on the car model in question is very simple to carry out thanks also to its location; start by loosening the fixing …read all… Posted on 23 August 2023 by ScegliAuto  Hyundai Elantra (1995-2000 / MK 2, J2)
Oxygen sensor replacement instructions The oxygen sensor, better known as lambda probe, has the function of detecting the oxygen value present in the exhaust gases and providing this information to …read all… Posted on 23 August 2023 by ScegliAuto 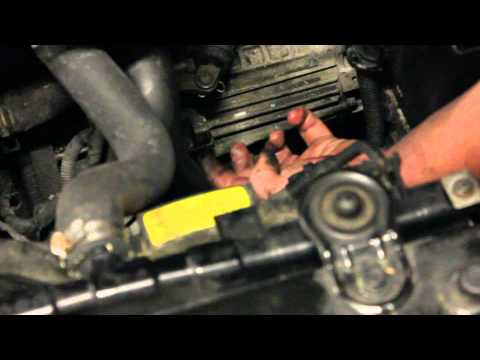 Hyundai Elantra (1995-2000 / MK 2, J2)
Instructions for checking the gearbox oil level On the gearbox there are generally two plugs: a lower one to drain the oil and one positioned on the side of the gearbox itself through which to fill with …read all… Posted on 23 August 2023 by ScegliAuto  Hyundai Elantra (1995-2000 / MK 2, J2)
Disassembly of the car clutch The following guide shows how to change the car's clutch. The replacement requires several steps which, if done correctly, save some money. The work must be …read all… Posted on 31 July 2023 by ScegliAuto |
See also:
Handbrake adjustment on Ford Ecosport
First remove the plastic profile at the base of the gear lever. To do this, slightly widen the side edges and carefully lift it to release it. There is no need to remove it completely, just move it forward to avoid bother. Now remove the plastic center console around the handbrake by first working from the rear to release it and lifting it until the brake lever passes. Also in this case it is not necessary to remove it completely but, paying attention to the connected cables, it can be stowed in front of the passenger seat. At this point we notice that at the base of the handbrake lever, on the front, we find a nut. By acting on it, with a 10 wrench, we can adjust the brake force, increasing it by turning the nut clockwise, or decreasing it by turning it counterclockwise. Once adjusted, the center console can be repositioned first, pressing lightly to engage it, and then the profile of the gearbox base. by ScegliAuto More videos
|
|
For advertising on this site Write to info@scegliauto.com
ScegliAuto is not responsible for any inaccuracy of the data in the lists. To report any inaccuracy or your business (if you own the business in question), please write to info@scegliauto.com
Number of seconds to generate the page: 0.012
(c) ScegliAuto 2024 - info@scegliauto.com - Privacy Policy VAT number: IT01247470535 |