
|
Do it yourself
| |||
| ||||


Mercedes Classe M Years 2005-2011 (W164) Mercedes Classe M (2005-2011 / W164)
How to reset the service indicator on a Mercedes ML In this video, we see how to reset the service light on a 2009 Mercedes ML. After performing the scheduled service, we turn on the ignition and press the reset …read all… Posted on 17 May 2024 by ScegliAuto  Mercedes Classe M (2005-2011 / W164)
Localization of the fuse boxes of the Mercedes ML In this video we see where the fuse boxes of the Mercedes Class M are located: the one in the passenger compartment is located on the passenger side, on the …read all… Posted on 17 May 2024 by ScegliAuto  Mercedes Classe M (2005-2011 / W164)
How to reset the automatic transmission in the Mercedes M-Class? In this tutorial we can see how to reset the gearbox in the Mercedes M-Class, an extremely simple and quick operation, to be carried out for example as an …read all… Posted on 15 May 2024 by ScegliAuto 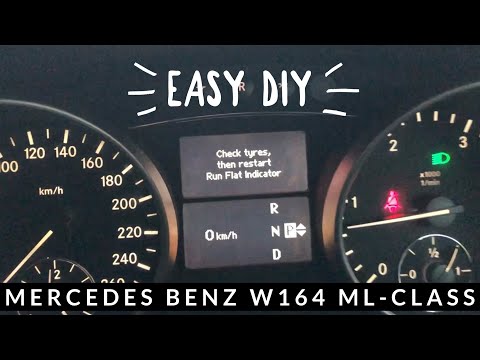 Mercedes Classe M (2005-2011 / W164)
How do you reset the tire pressure warning light on the Mercedes M-Class? In order to reset the tire pressure warning light of the Mercedes M-Class, you need to inflate the tires to the recommended pressure value: this value is …read all… Posted on 21 April 2024 by ScegliAuto  Mercedes Classe M (2005-2011 / W164)
Where are the fuses located in the Mercedes M-Class? On the Mercedes M-Class, the fuses are contained within specific fuse boxes that are installed on the vehicle: in this type of vehicle, three fuse boxes can be …read all… Posted on 13 April 2024 by ScegliAuto  Mercedes Classe M (2005-2011 / W164)
How to reset the service of the Mercedes Class M W164 In this video we can see how to reset the service light of a Mercedes Class M W164: make sure that the hood, trunk, and doors are properly closed, turn on the …read all… Posted on 11 April 2024 by ScegliAuto 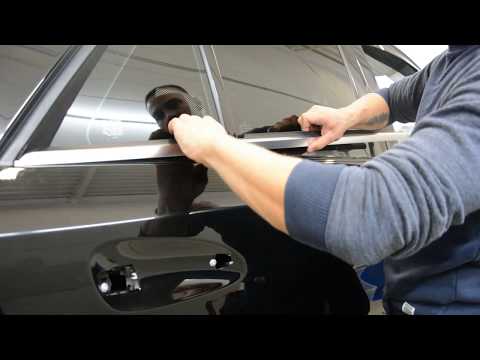 Mercedes Classe M (2005-2011 / W164)
How to remove the chrome trim from the Mercedes windows Removing the color coating from the windows of a 2010 Mercedes-Benz M-Class is a very simple and useful operation to perform independently if we need to …read all… Posted on 30 March 2024 by ScegliAuto 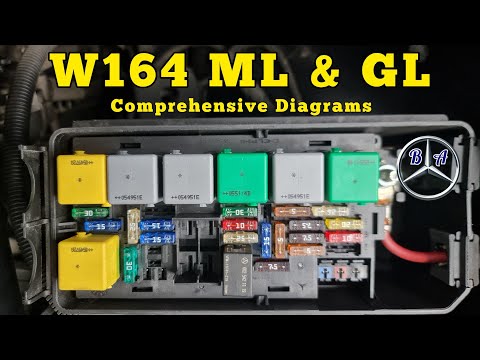 Mercedes Classe M (2005-2011 / W164)
Layout and positioning of the fuses in the Mercedes M-Class. In this video, we will see the layout and positioning of the fuses in the Mercedes M-Class, in simple steps. First, we open the hood of the car and start …read all… Posted on 16 March 2024 by ScegliAuto  Mercedes Classe M (2005-2011 / W164)
Disassembly of the front bumper of the Mercedes ML Today we discover the guide on how to disassemble and replace the front bumper of the Mercedes ML, in simple steps. First, lift the vehicle and start …read all… Posted on 11 March 2024 by ScegliAuto 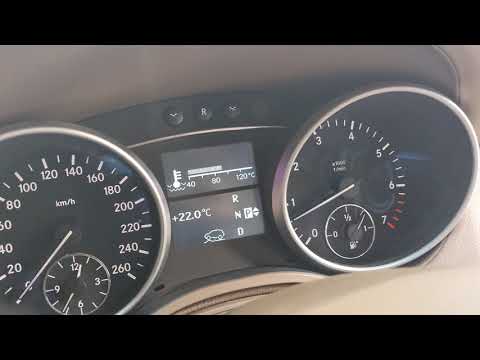 Mercedes Classe M (2005-2011 / W164)
How do you reset the tire pressure warning light on the Mercedes M-Class? In order to reset the tire pressure warning light on the Mercedes M-Class, you first need to inflate the tires to the recommended pressure value: this value is …read all… Posted on 19 February 2024 by ScegliAuto 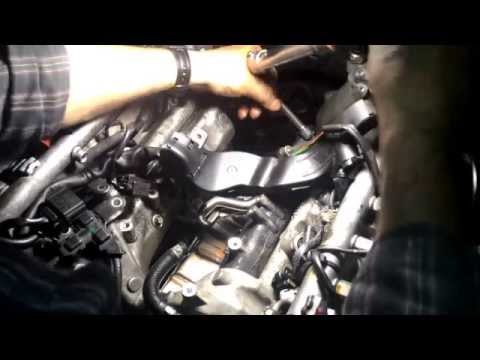 Mercedes Classe M (2005-2011 / W164)
How to intervene on the heat exchanger in the Mercedes ML Below you will find a general description of the steps involved in replacing the heat exchanger, but please note that this is only an overview and the details …read all… Posted on 8 February 2024 by ScegliAuto  Mercedes Classe M (2005-2011 / W164)
How to reset tire pressure on Mercedes ML W164? In this video, the procedure for resetting the tire pressure warning light on the Mercedes ML W164 is shown. This procedure is useful when the light stays on …read all… Posted on 10 January 2024 by ScegliAuto 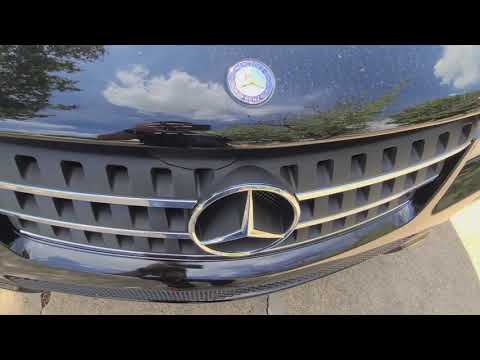 Mercedes Classe M (2005-2011 / W164)
Disassembly and replacement of the front bumper grille of the Mercedes M-Class. Today we will discover the step-by-step instructions that will allow us to dismantle and replace the front bumper grille of the Mercedes M-Class. First, we …read all… Posted on 2 January 2024 by ScegliAuto 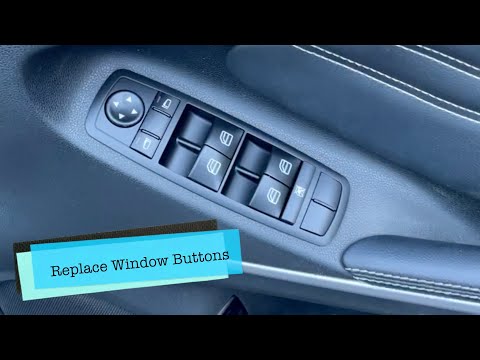 Mercedes Classe M (2005-2011 / W164)
How do you replace the power window switch panel of the Mercedes M-Class? In order to replace the power window switch panel of the Mercedes M-Class, it is necessary to completely detach the door panel from its housing: to remove the …read all… Posted on 9 December 2023 by ScegliAuto 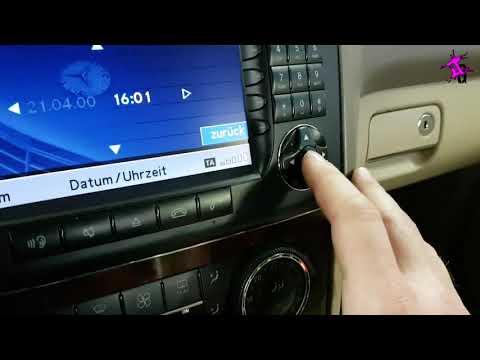 Mercedes Classe M (2005-2011 / W164)
How do you set the time on the Mercedes M-Class W164? You can now set the date and time on the Mercedes M-Class W164 directly through the touchscreen display of the multimedia entertainment system, which is the …read all… Posted on 3 December 2023 by ScegliAuto 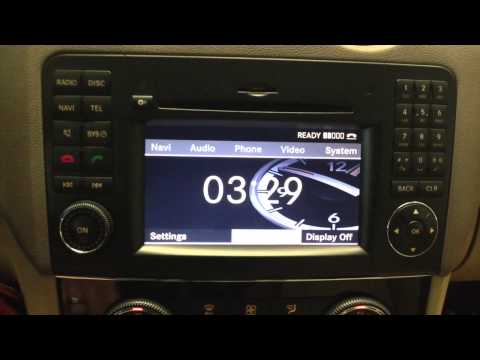 Mercedes Classe M (2005-2011 / W164)
How to adjust the time on the Mercedes ML Below we will see the steps that will allow us to adjust the time on the Mercedes ML, following the instructions below. First of all, we get into the car and …read all… Posted on 3 December 2023 by ScegliAuto 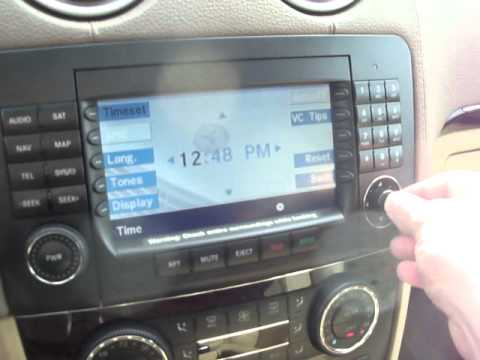 Mercedes Classe M (2005-2011 / W164)
How to adjust the time on the Mercedes M-Class? In this tutorial, we can see how to adjust the time in the Mercedes M-Class, an extremely simple and quick operation to be performed, for example, after …read all… Posted on 23 November 2023 by ScegliAuto 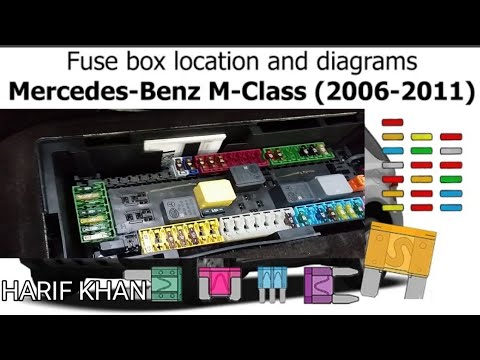 Mercedes Classe M (2005-2011 / W164)
Where are the fuses located in the Mercedes M-Class? Each fuse in the Mercedes M-Class is located inside one of the specific fuse boxes that are installed on the vehicle: in this type of car, it is possible to …read all… Posted on 18 October 2023 by ScegliAuto 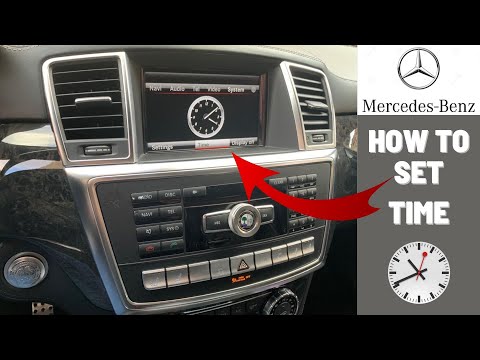 Mercedes Classe M (2005-2011 / W164)
How to set the time on the Mercedes ML Let's briefly see in this guide the steps that will allow us to correctly set the date and time on the Mercedes ML. First of all, get into the car and turn on …read all… Posted on 23 September 2023 by ScegliAuto  Mercedes Classe M (2005-2011 / W164)
How to replace the crankshaft position sensor of the Mercedes ML. Today we will see the necessary steps to disassemble and replace the crankshaft position sensor of the Mercedes ML. First, we open the engine hood of our car …read all… Posted on 18 September 2023 by ScegliAuto |
See also:
Handbrake adjustment on Ford Ecosport
First remove the plastic profile at the base of the gear lever. To do this, slightly widen the side edges and carefully lift it to release it. There is no need to remove it completely, just move it forward to avoid bother. Now remove the plastic center console around the handbrake by first working from the rear to release it and lifting it until the brake lever passes. Also in this case it is not necessary to remove it completely but, paying attention to the connected cables, it can be stowed in front of the passenger seat. At this point we notice that at the base of the handbrake lever, on the front, we find a nut. By acting on it, with a 10 wrench, we can adjust the brake force, increasing it by turning the nut clockwise, or decreasing it by turning it counterclockwise. Once adjusted, the center console can be repositioned first, pressing lightly to engage it, and then the profile of the gearbox base. by ScegliAuto More videos
|
|
For advertising on this site Write to info@scegliauto.com
ScegliAuto is not responsible for any inaccuracy of the data in the lists. To report any inaccuracy or your business (if you own the business in question), please write to info@scegliauto.com
Number of seconds to generate the page: 0.016
(c) ScegliAuto 2024 - info@scegliauto.com - Privacy Policy VAT number: IT01247470535 |