Fiat Panda - Shifter boot
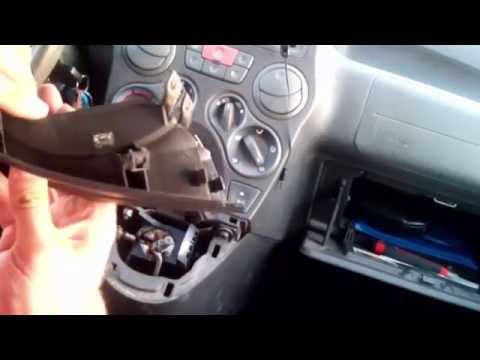
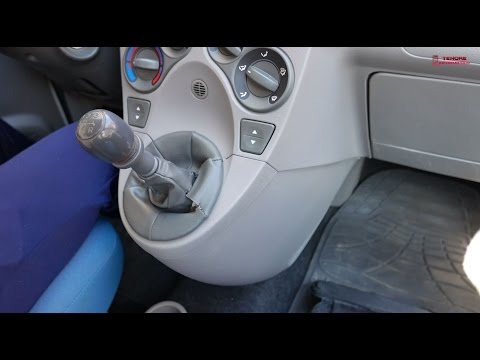
Shifter Boot Fiat Panda (2003-2012 / 169, mk 2)
Cigarette lighter (4)
Airbag (15)
Alternator (4)
Speaker (1)
Shocks (18)
Antenna (1)
Air conditioning (4)
Car stereo (38)
Anti-roll bar (1)
Roof rack bars (5)
Battery (13)
Ignition coil (2)
Air vents (2)
Control arm (3)
Transmission (9)
Spark plugs (18)
Glow plugs (2)
Carburetor (2)
Body (15)
Glove compartment (2)
Snow chains (1)
Control unit (4)
Key (25)
Timing belt (34)
V-belt (3)
Air conditioner (1)
A/C controls (2)
Onboard computer (8)
Checks and maintenance (71)
Throttle body (2)
Dashboard (14)
Shifter boot (5)
CV boot (5)
Bearing (7)
MAF sensor (1)
Differential (4)
Brake rotors (3)
Wheel spacers (1)
Headlight (31)
Tail light (18)
Fog lights (10)
Air filter (29)
Cabin air filter (35)
Fuel filter (4)
Diesel fuel filter (7)
Oil filter (10)
Parking brake (5)
Clutch (9)
Grille (1)
Fuel injectors (4)
Accessory kit (5)
Light bulb (20)
Side marker bulb (2)
Headlight bulb (29)
Tail light bulb (13)
Interior dome light bulb (2)
Antifreeze coolant (5)
Instrument panel light (12)
License plate light (5)
(1)
Handle (3)
Exhaust muffler (6)
Engine (10)
Power window motor (4)
Starter motor (8)
Transmission fluid (5)
Engine oil (16)
Clock (36)
Door trim panel (22)
Windshield (3)
Front bumper (10)
Rear bumper (8)
Brake pads (18)
Hydraulic pistons (3)
Shift knob (16)
Pump (12)
Fuel pump (15)
Car door (6)
Push button (1)
Instrument cluster (11)
Radiator (7)
Heater core (11)
Wheel (3)
Fuse box (36)
Seat (33)
Axle shaft (4)
Crankshaft position sensor (3)
Parking sensors (3)
Door lock (11)
Suspension system (2)
Side mirror (24)
Rearview mirror (2)
Warning light – error code (21)
(22)
Tire pressure warning light (9)
Service warning light (44)
Manufacturer emblem (2)
Engine mount (3)
Brake drums and shoes (4)
Fuel cap (3)
Windshield wipers (20)
Thermostat (12)
Cylinder head (1)
Tie rods (2)
Drivetrain (11)
Center console tunnel (2)
Turbocharger (1)
Windshield washer nozzle (2)
Valve (2)
EGR valve (3)
Blower motor (5)
Side window (4)
Steering wheel (14)
|
Fuses Location and Diagram for the Volkswagen Crafter

In this guide, we will look at the location of the fuse boxes and how to find their diagram for the Volkswagen Crafter. First, get inside the vehicle and start by removing the plastic cover found under the steering wheel, to access the internal fuse box; you will find another fuse box in the engine compartment by removing the plastic cover located next to the battery. At this point, use the owner's manual to find the fuse diagram, which will allow you to identify and replace any blown fuses with new ones!
Watch the video!
by ScegliAuto
More videos
|